Using Mason jars for food storage
I was surprised to learn that Mason jars have been around since 1858! That’s 100 years before I was born! In many homes, the quart-size Mason jar has been commonplace for as long as anyone can remember. Being the first, “mason” is the Kleanex term, as there are many manufacturers of canning jars. To learn more about the history of the glass canning jar visit What About All the Different Brands of Canning Jars and Lids? • AnswerLine • Iowa State University Extension and Outreach.
The status quo for Vacuum sealing mason jars
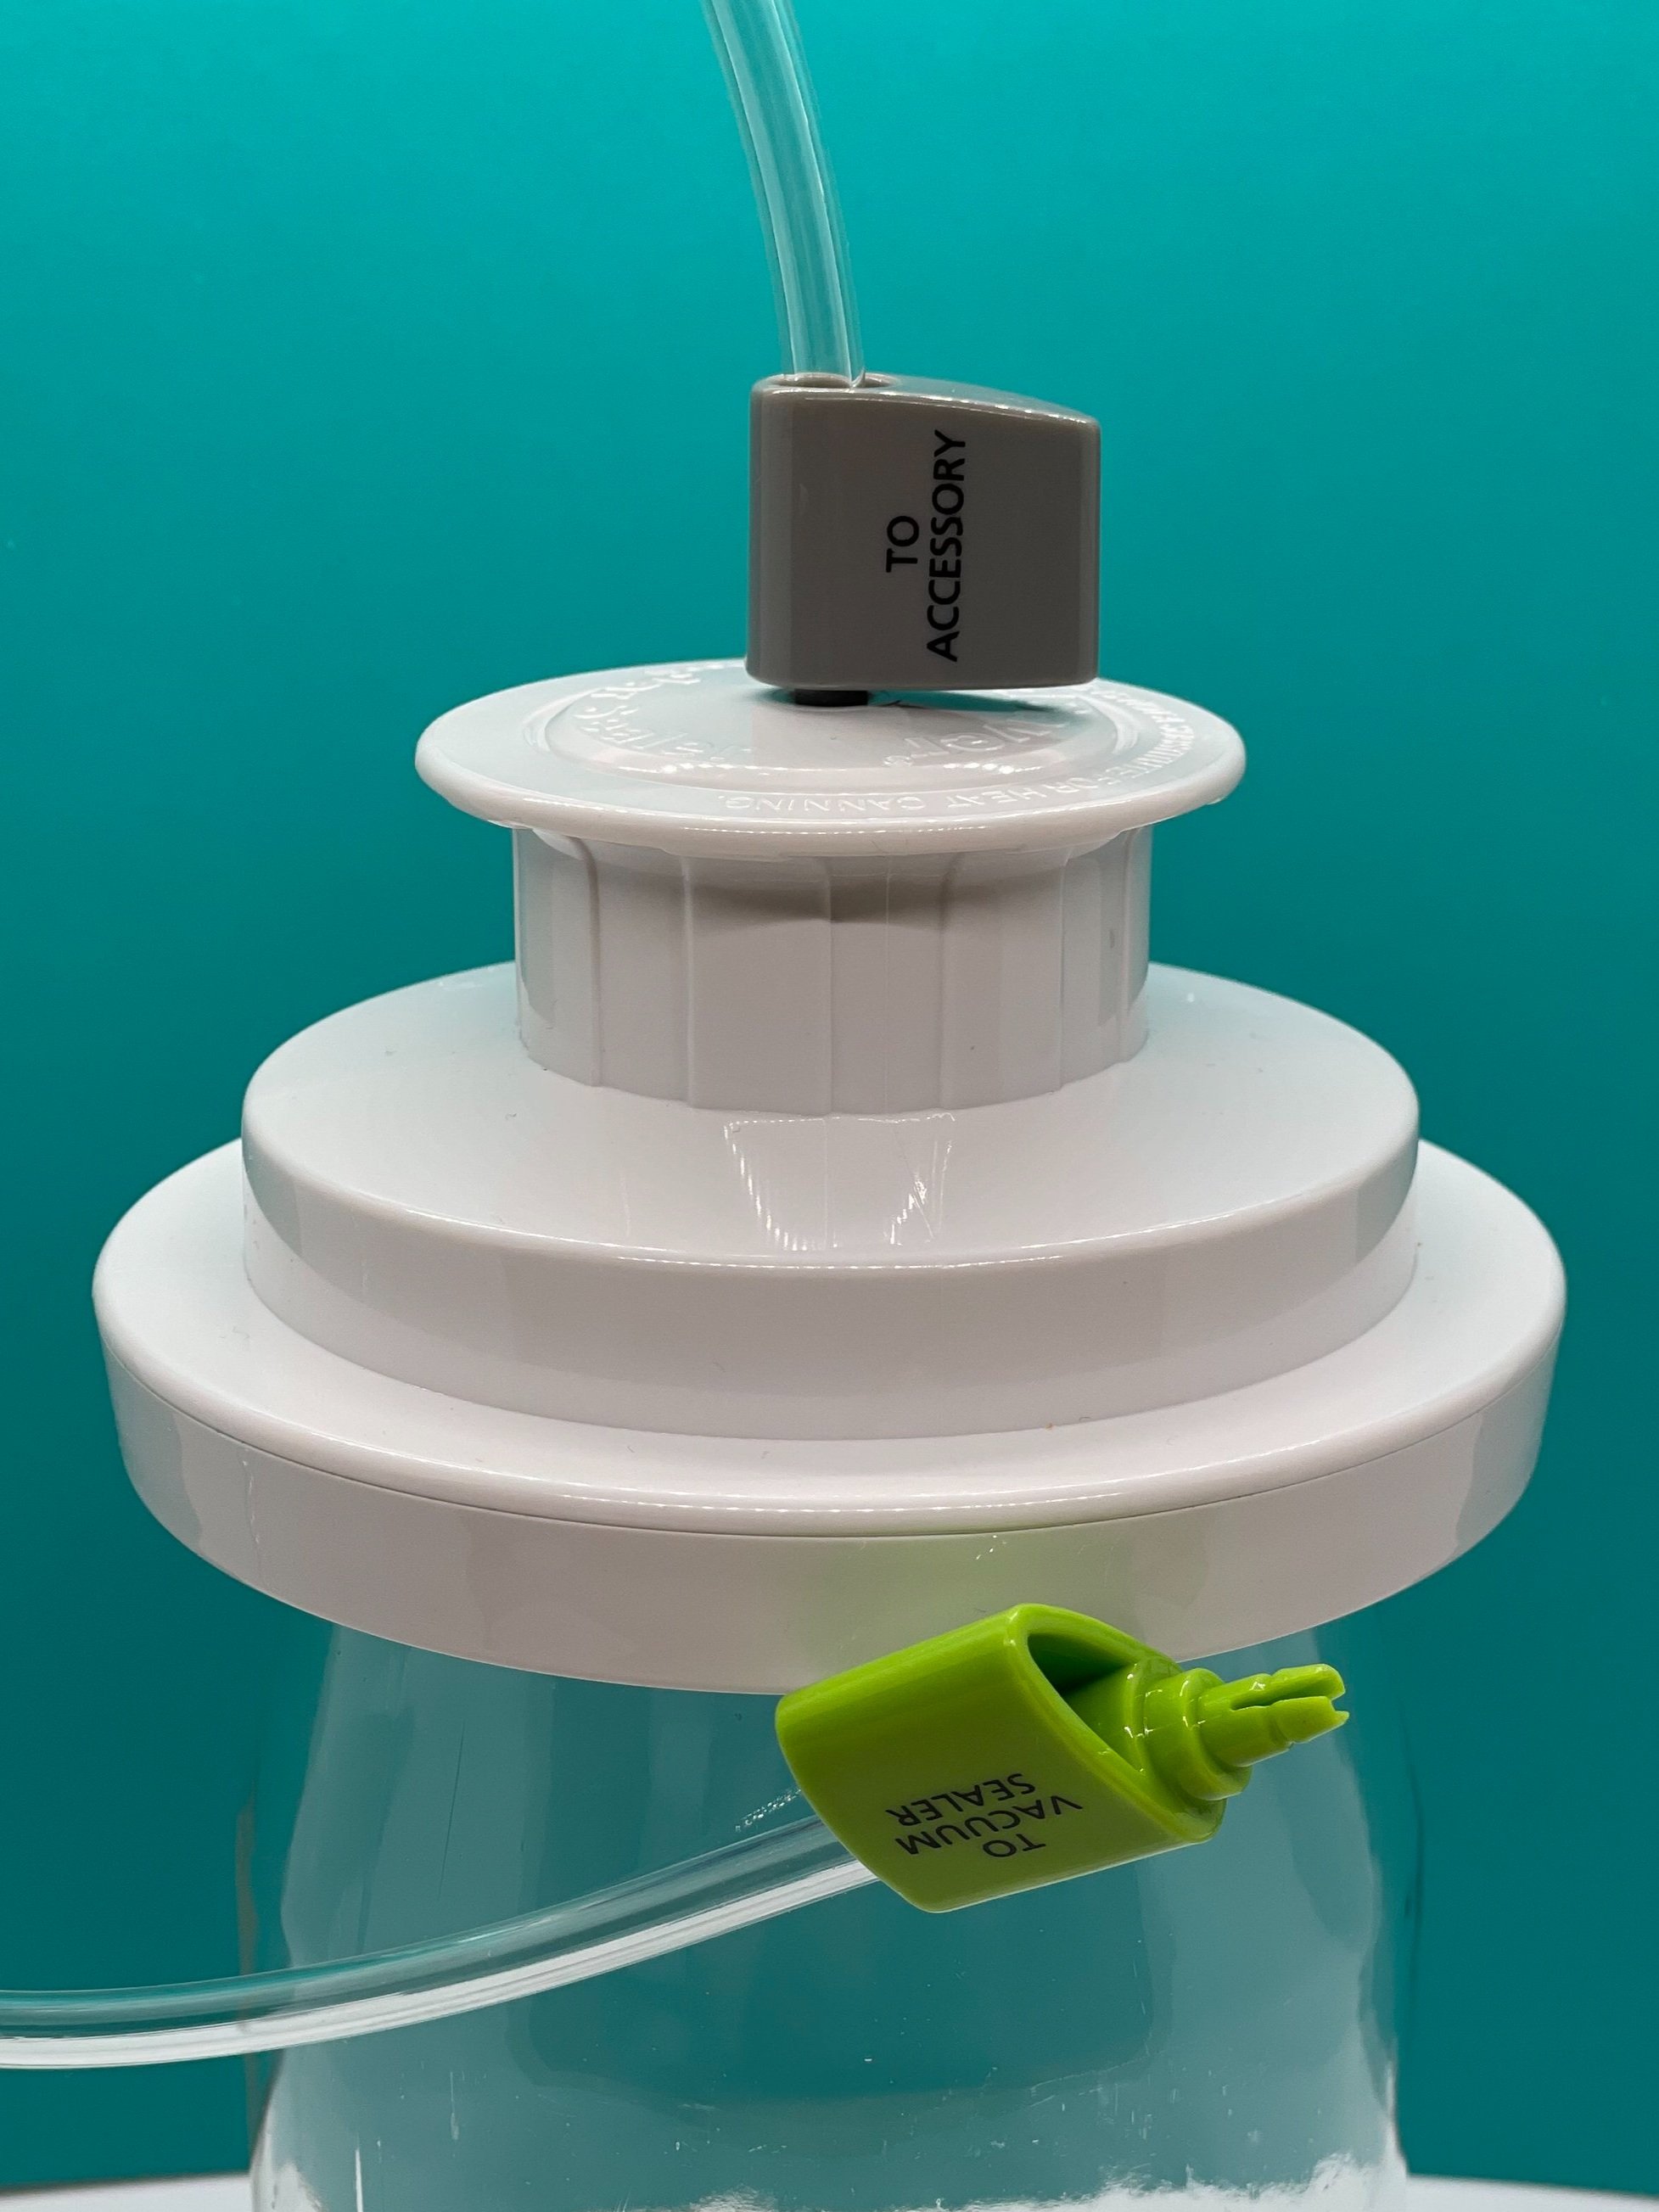
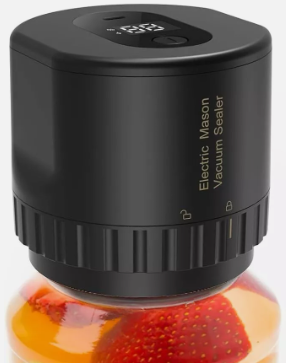
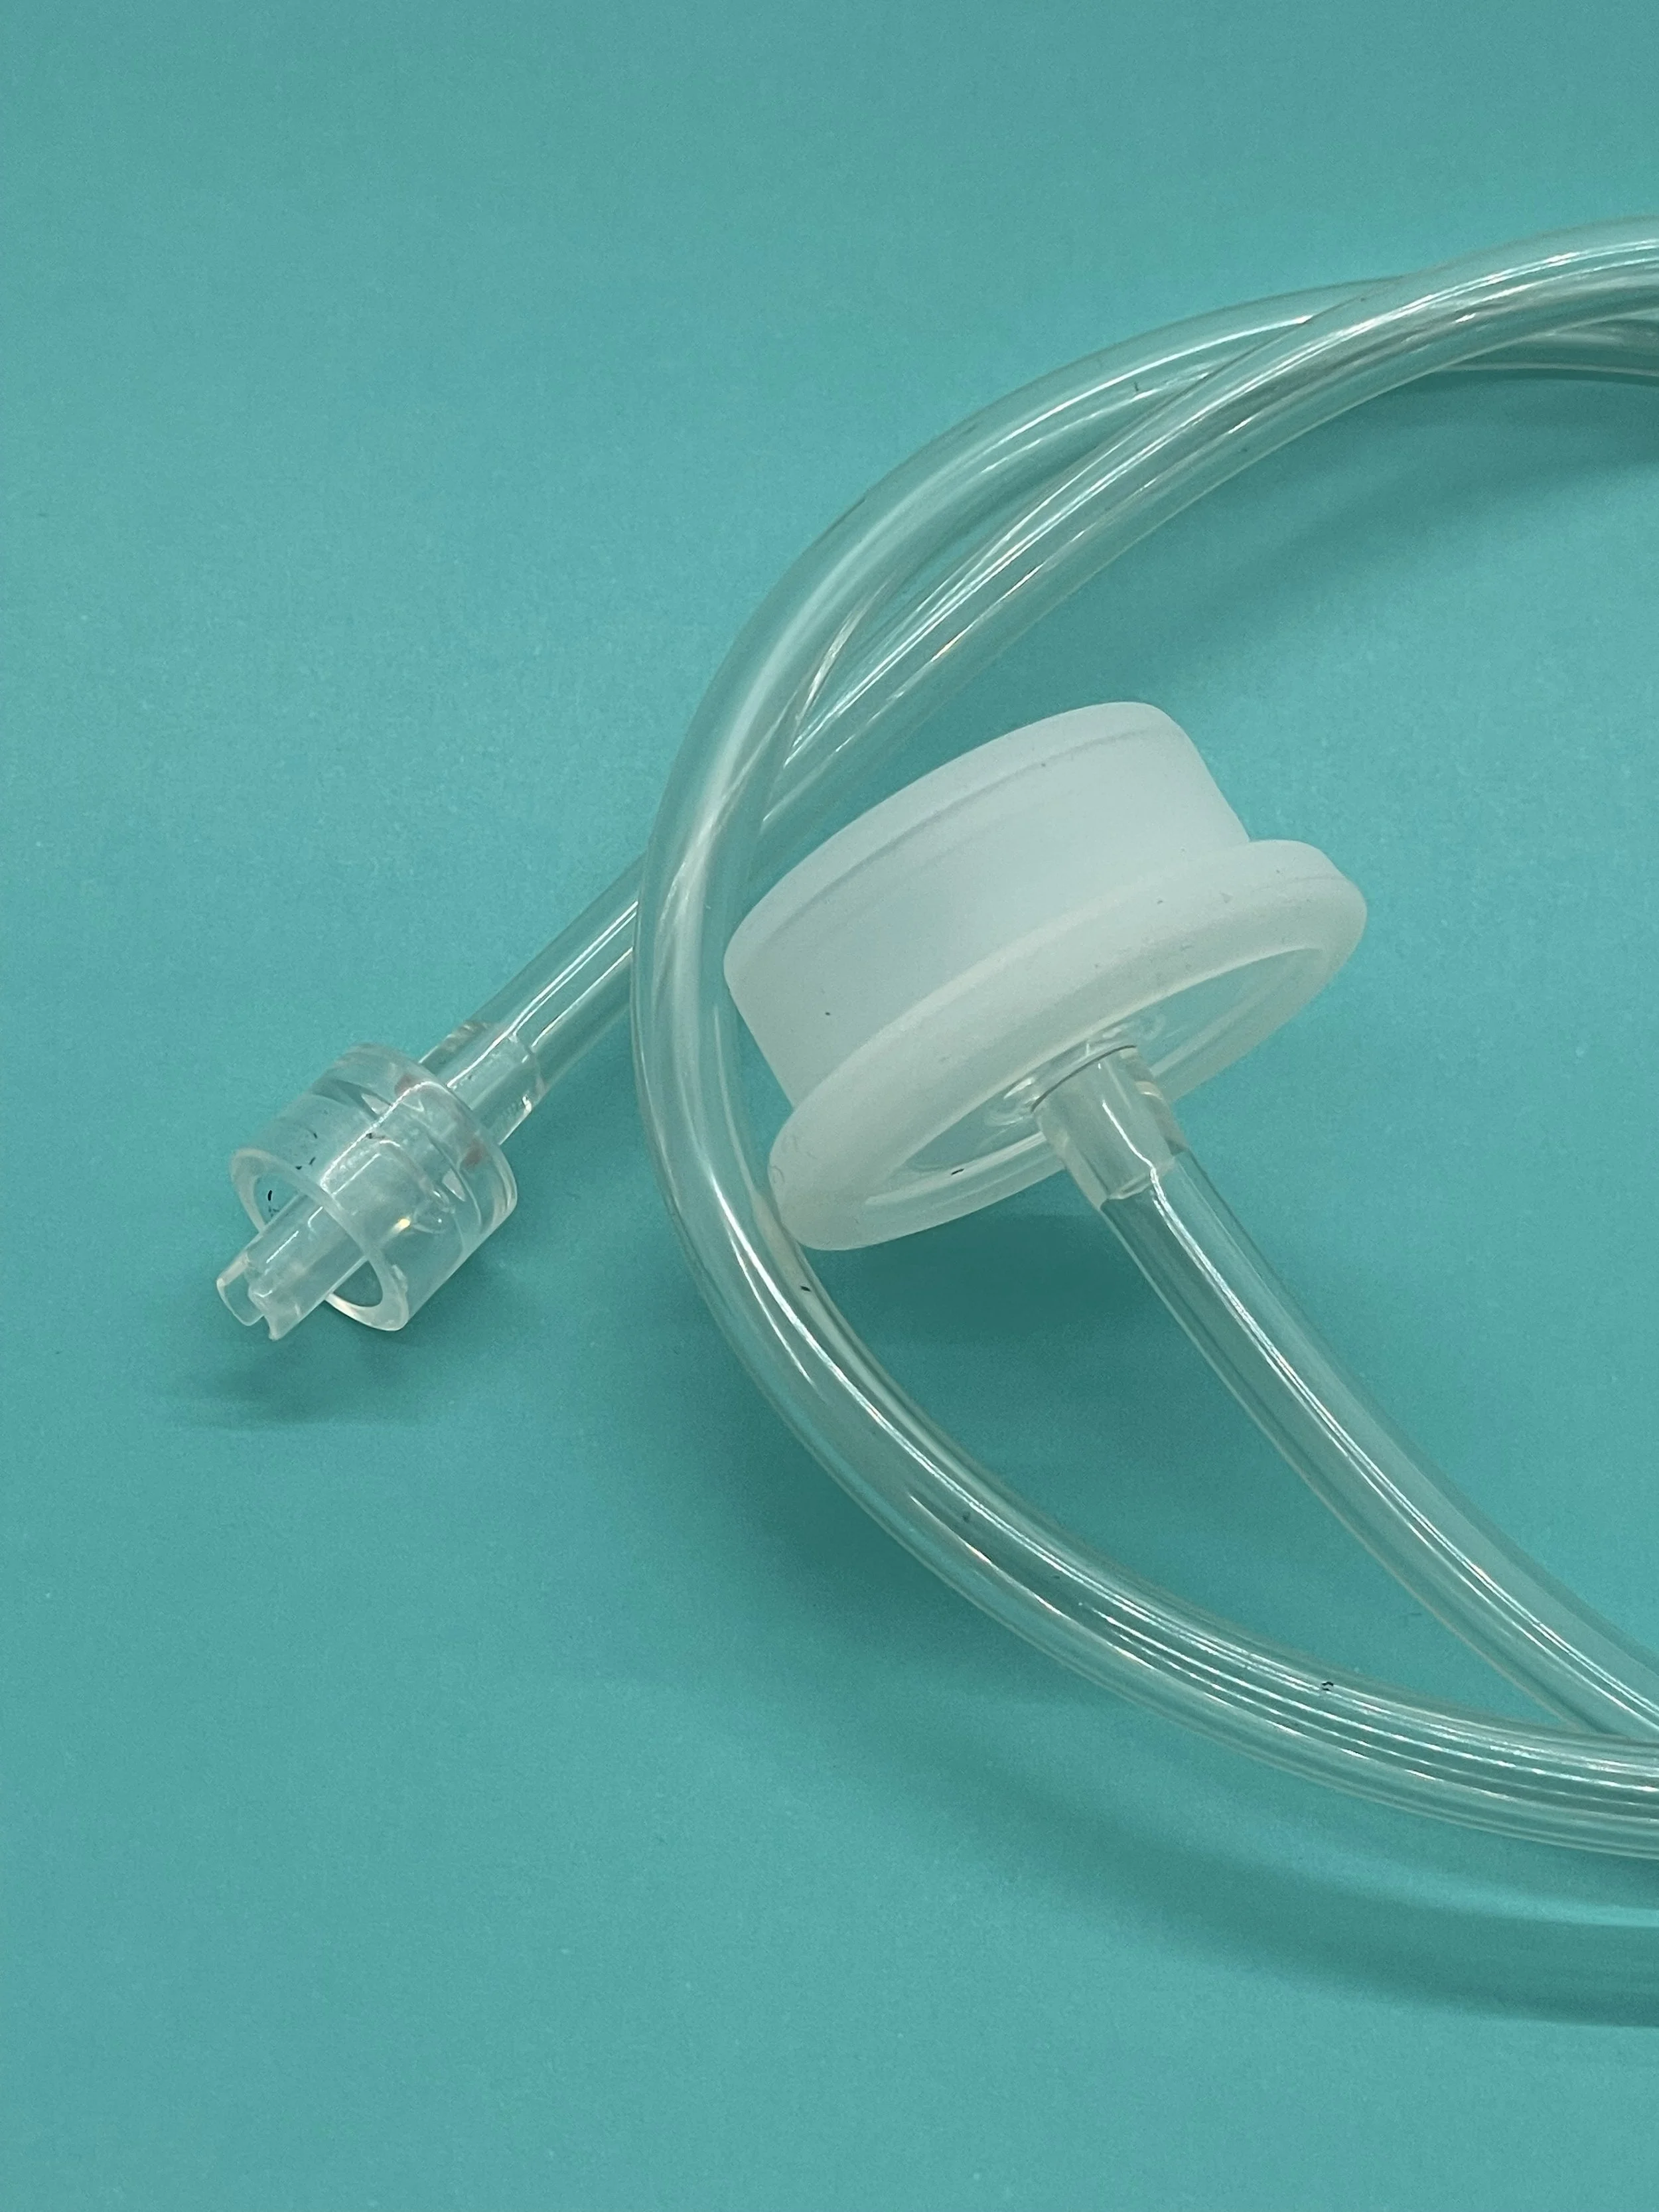
Mason jars, along with the accompanying lids and rings, make for a very convenient and effective way to preserve small quantities of foods using vacuum. The glass bottles are rigid, so they withstand well the pressures of vacuum. Also, they clean and sterilize easily. The lid forms a tight seal along the bottles edge and the ring screws down on the lid to ensure it’s held securely. Up till now there has been only one easily available method for creating the needed vacuum, and that is by using an accessory fixture that connects to a vacuum pump. The fixture is a kind of ‘cap’ that fits over the mason jar top with the lid already in place (Food Saver makes a very popular accessory, and if I’m not mistaken, theirs was the first). The vacuum source is usually a counter-top bag sealer that has a vacuum accessory port into which one end of a vacuum hose is connected, and the other end is connected to the vacuum cap. When vacuum is applied the mason lid lifts slightly inside the cap to let air flow from the jar. When the vacuum pump is turned off, the lid is suctioned onto the jar. Relatively recent, there have been devices that have hit the market that provide this same function, but they are self-contained with a built-in vacuum pump, eliminating the need for a separate vacuum source. I don’t have experience with these, so I don’t know how they compare to a bag sealer in terms of suction power.
Food Saver mason jar accessory with vacuum hose
Electric mason jar vacuum sealer
some challenges with the current method for vacuum sealing
Here are some issues you may encounter:
Often it is difficult to remove the accessory cap. Sometimes the lid gets pried loose when the cap is removed. More times than not this doesn’t happen, but it can. And when it does it is frustrating.
Some mason jars have an extra-large glass rim just below the threads. This rim interferes with the positioning of the accessory cap, preventing the lid to seal onto the jar. I’ve experienced this mostly with the “regular” sized jar. The “wide mouth” size jar construction seems to be more consistent across jar manufacturers.
I’ve seen where the rubber seal, that is part of the accessory cap design, gets hard and becomes less flexible. When this happens, it is difficult to achieve a good seal on the body of the jar, which allows air to be pulled from outside between the jar and cap, not from inside the jar.
Cost for the accessory can range from $20 to $50. Granted, that’s not a bunch of money, and if viewed as a one-time purchase, it may be easy to justify. Keep in mind though that the basic accessory cap and the all-in-one type serve a single purpose. I always view multi-purpose tools as more valuable and a better investment. Also, in the case of the Food Saver tool, you’ll need to get two; one designed to fit regular mouth and another for wide mouth jars.
Now there’s a better way to vacuum seal mason jars
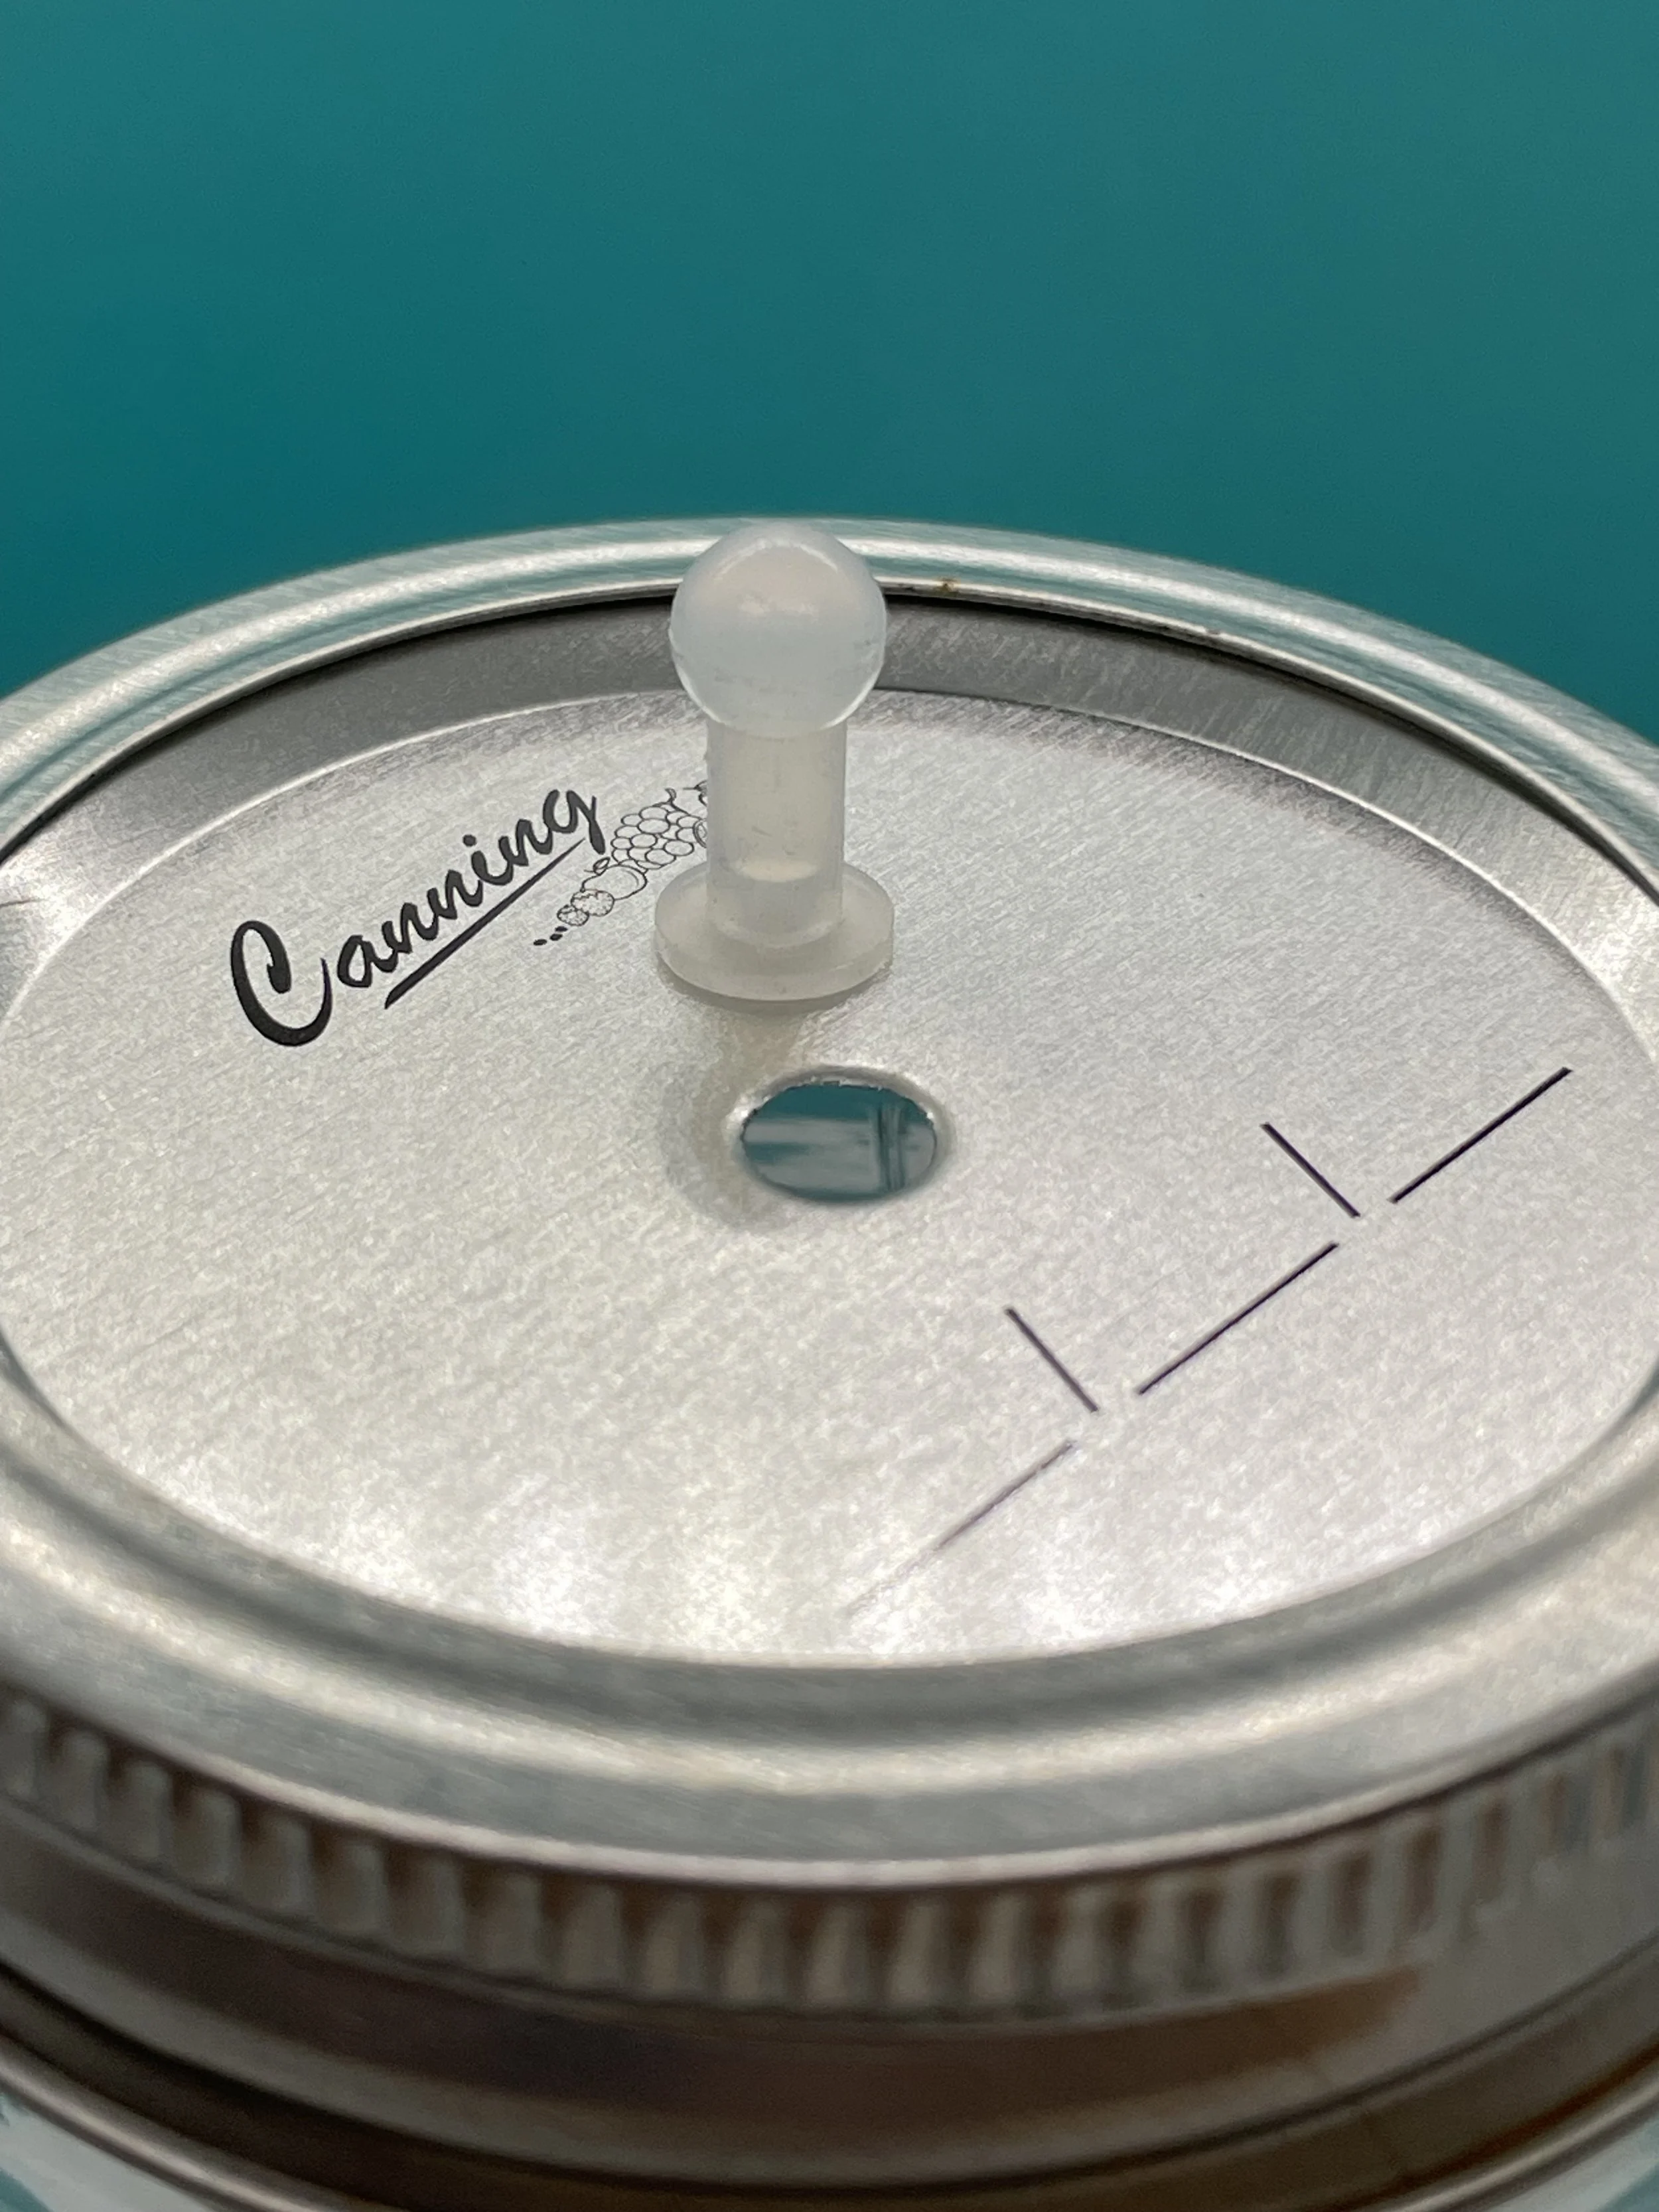
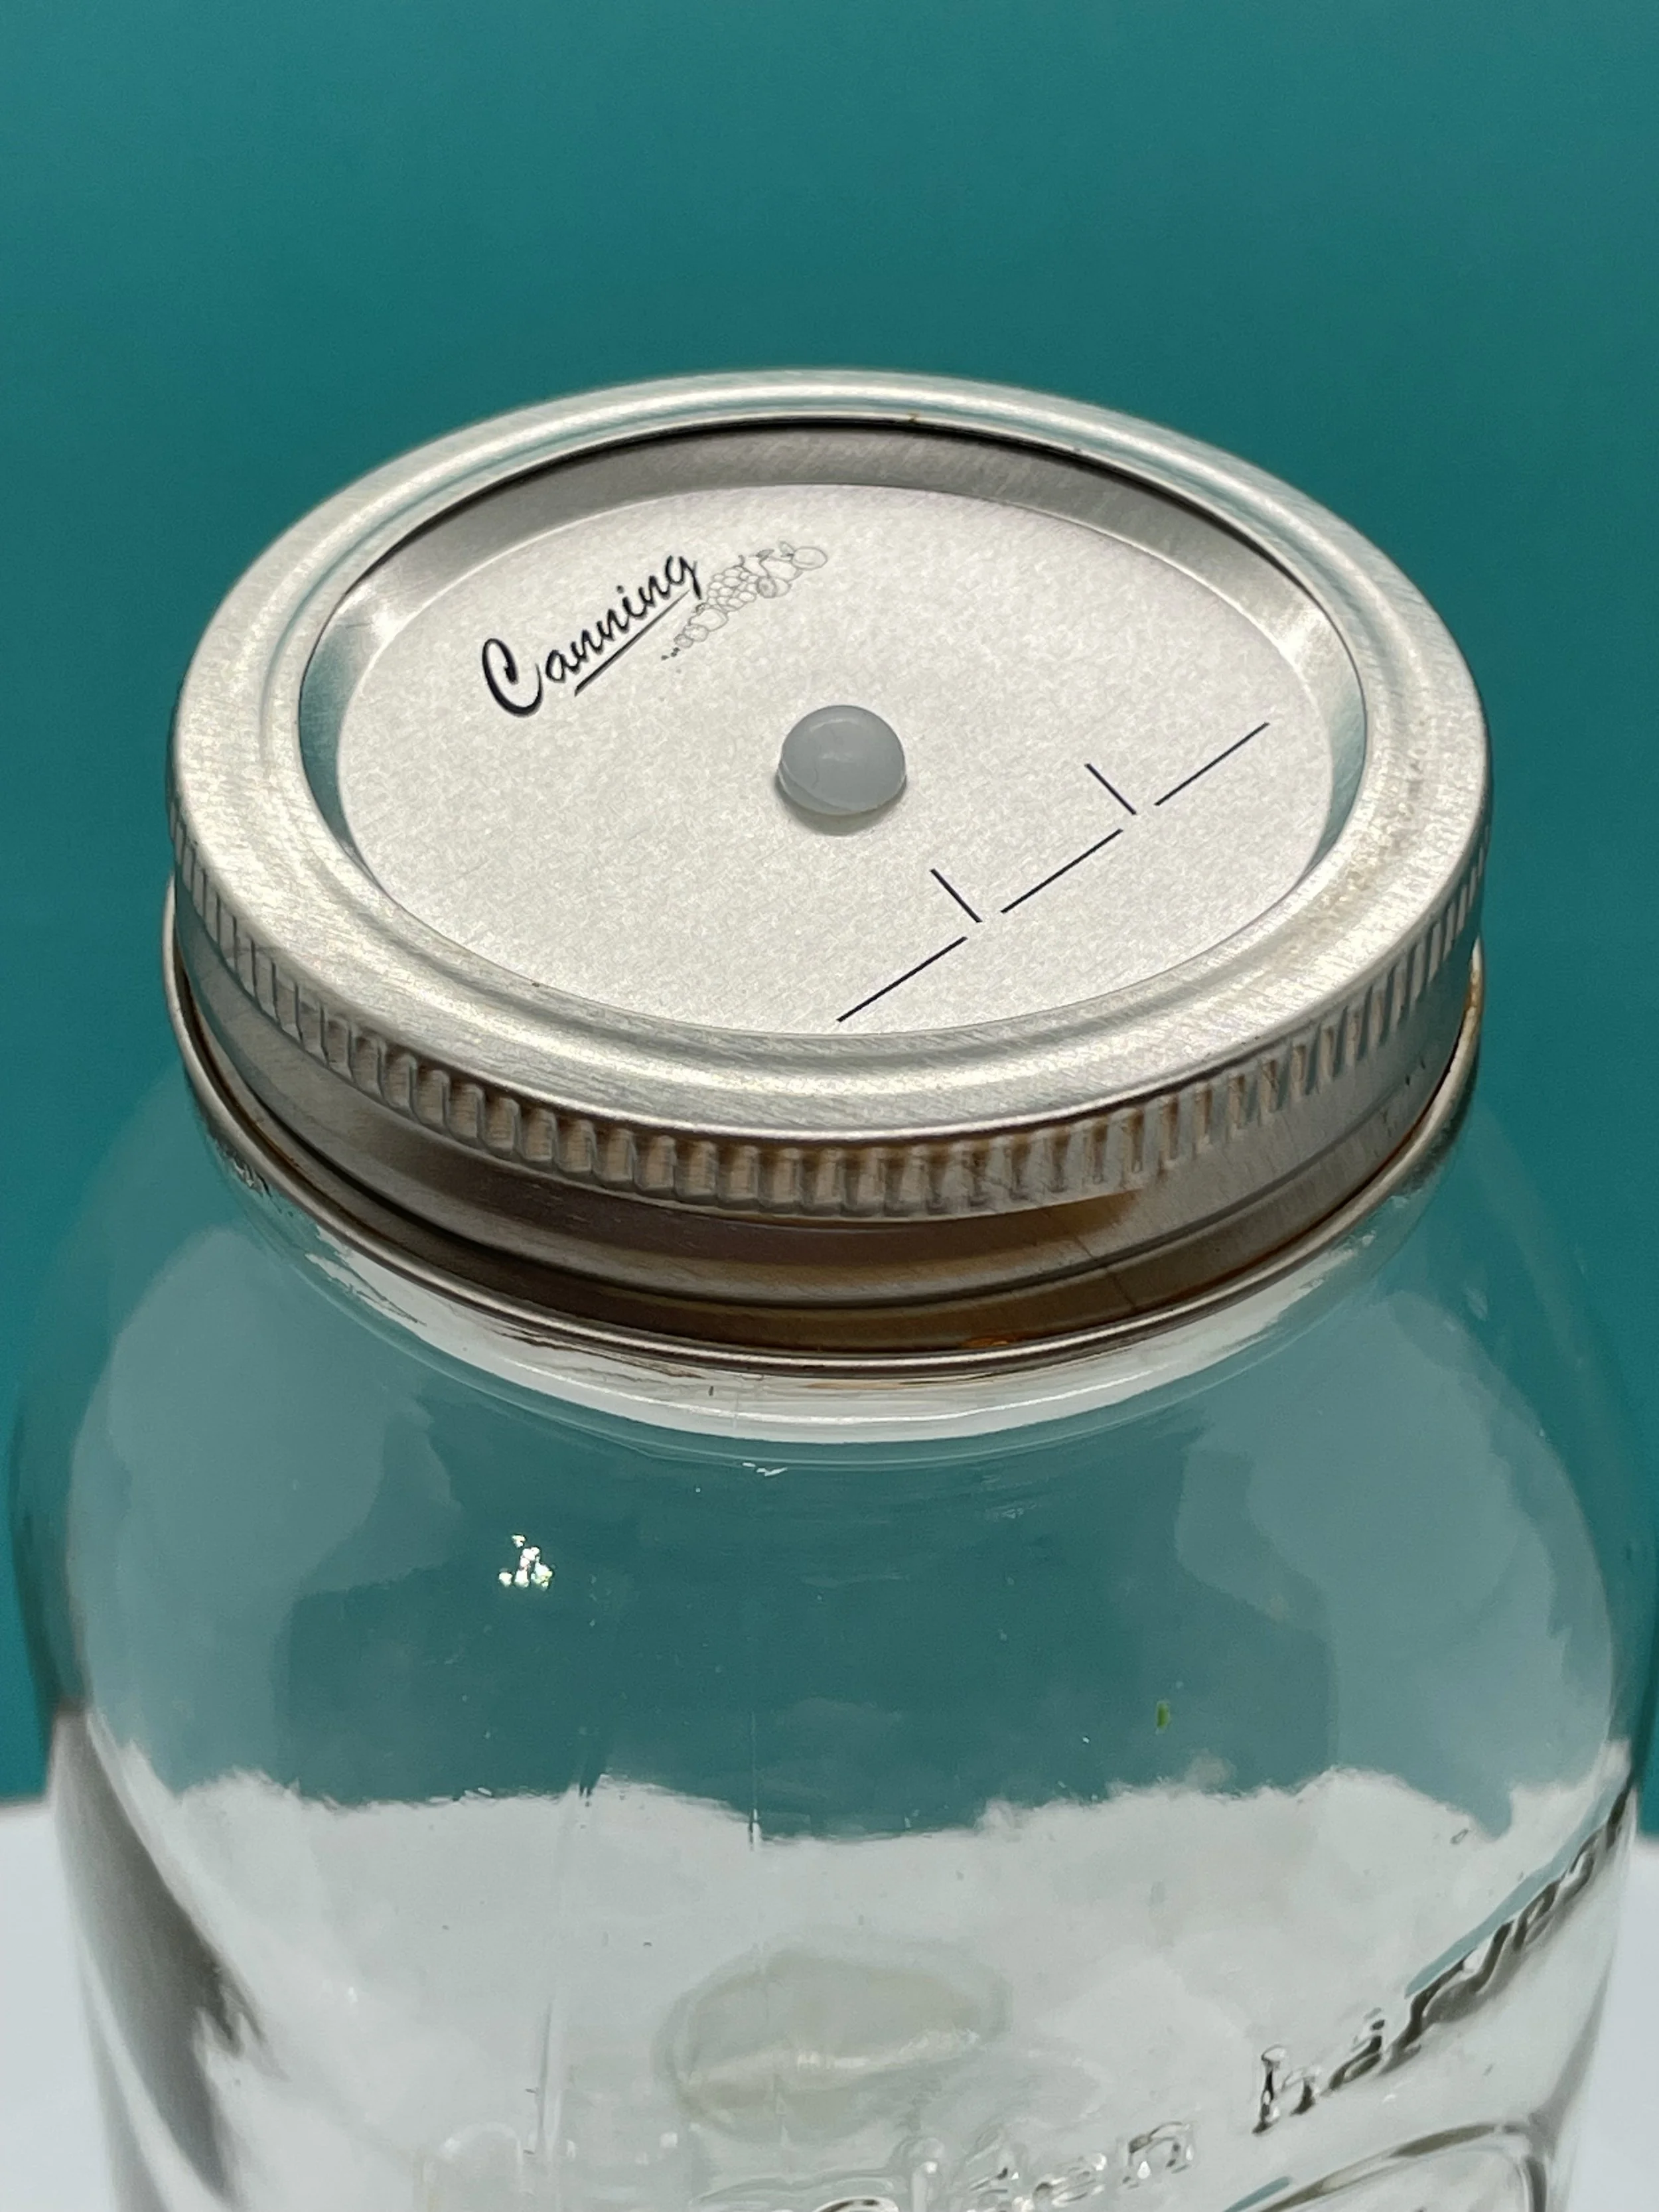
The makers of the That Seals It! vacuum lid for #10 cans (TSI) has just made available a better option for sealing mason jars. The solution is quite simple; add a TSI ball seal to the canning lid. The vacuum source can be your counter-top bag sealer, a hand-held electric bag sealer or even a manually operated vacuum pump. Whichever pump you use, it will need to be combined with a TSI vacuum coupler designed to work with the ball seal.
That Seals It! ball seal with mason jar lid with hole
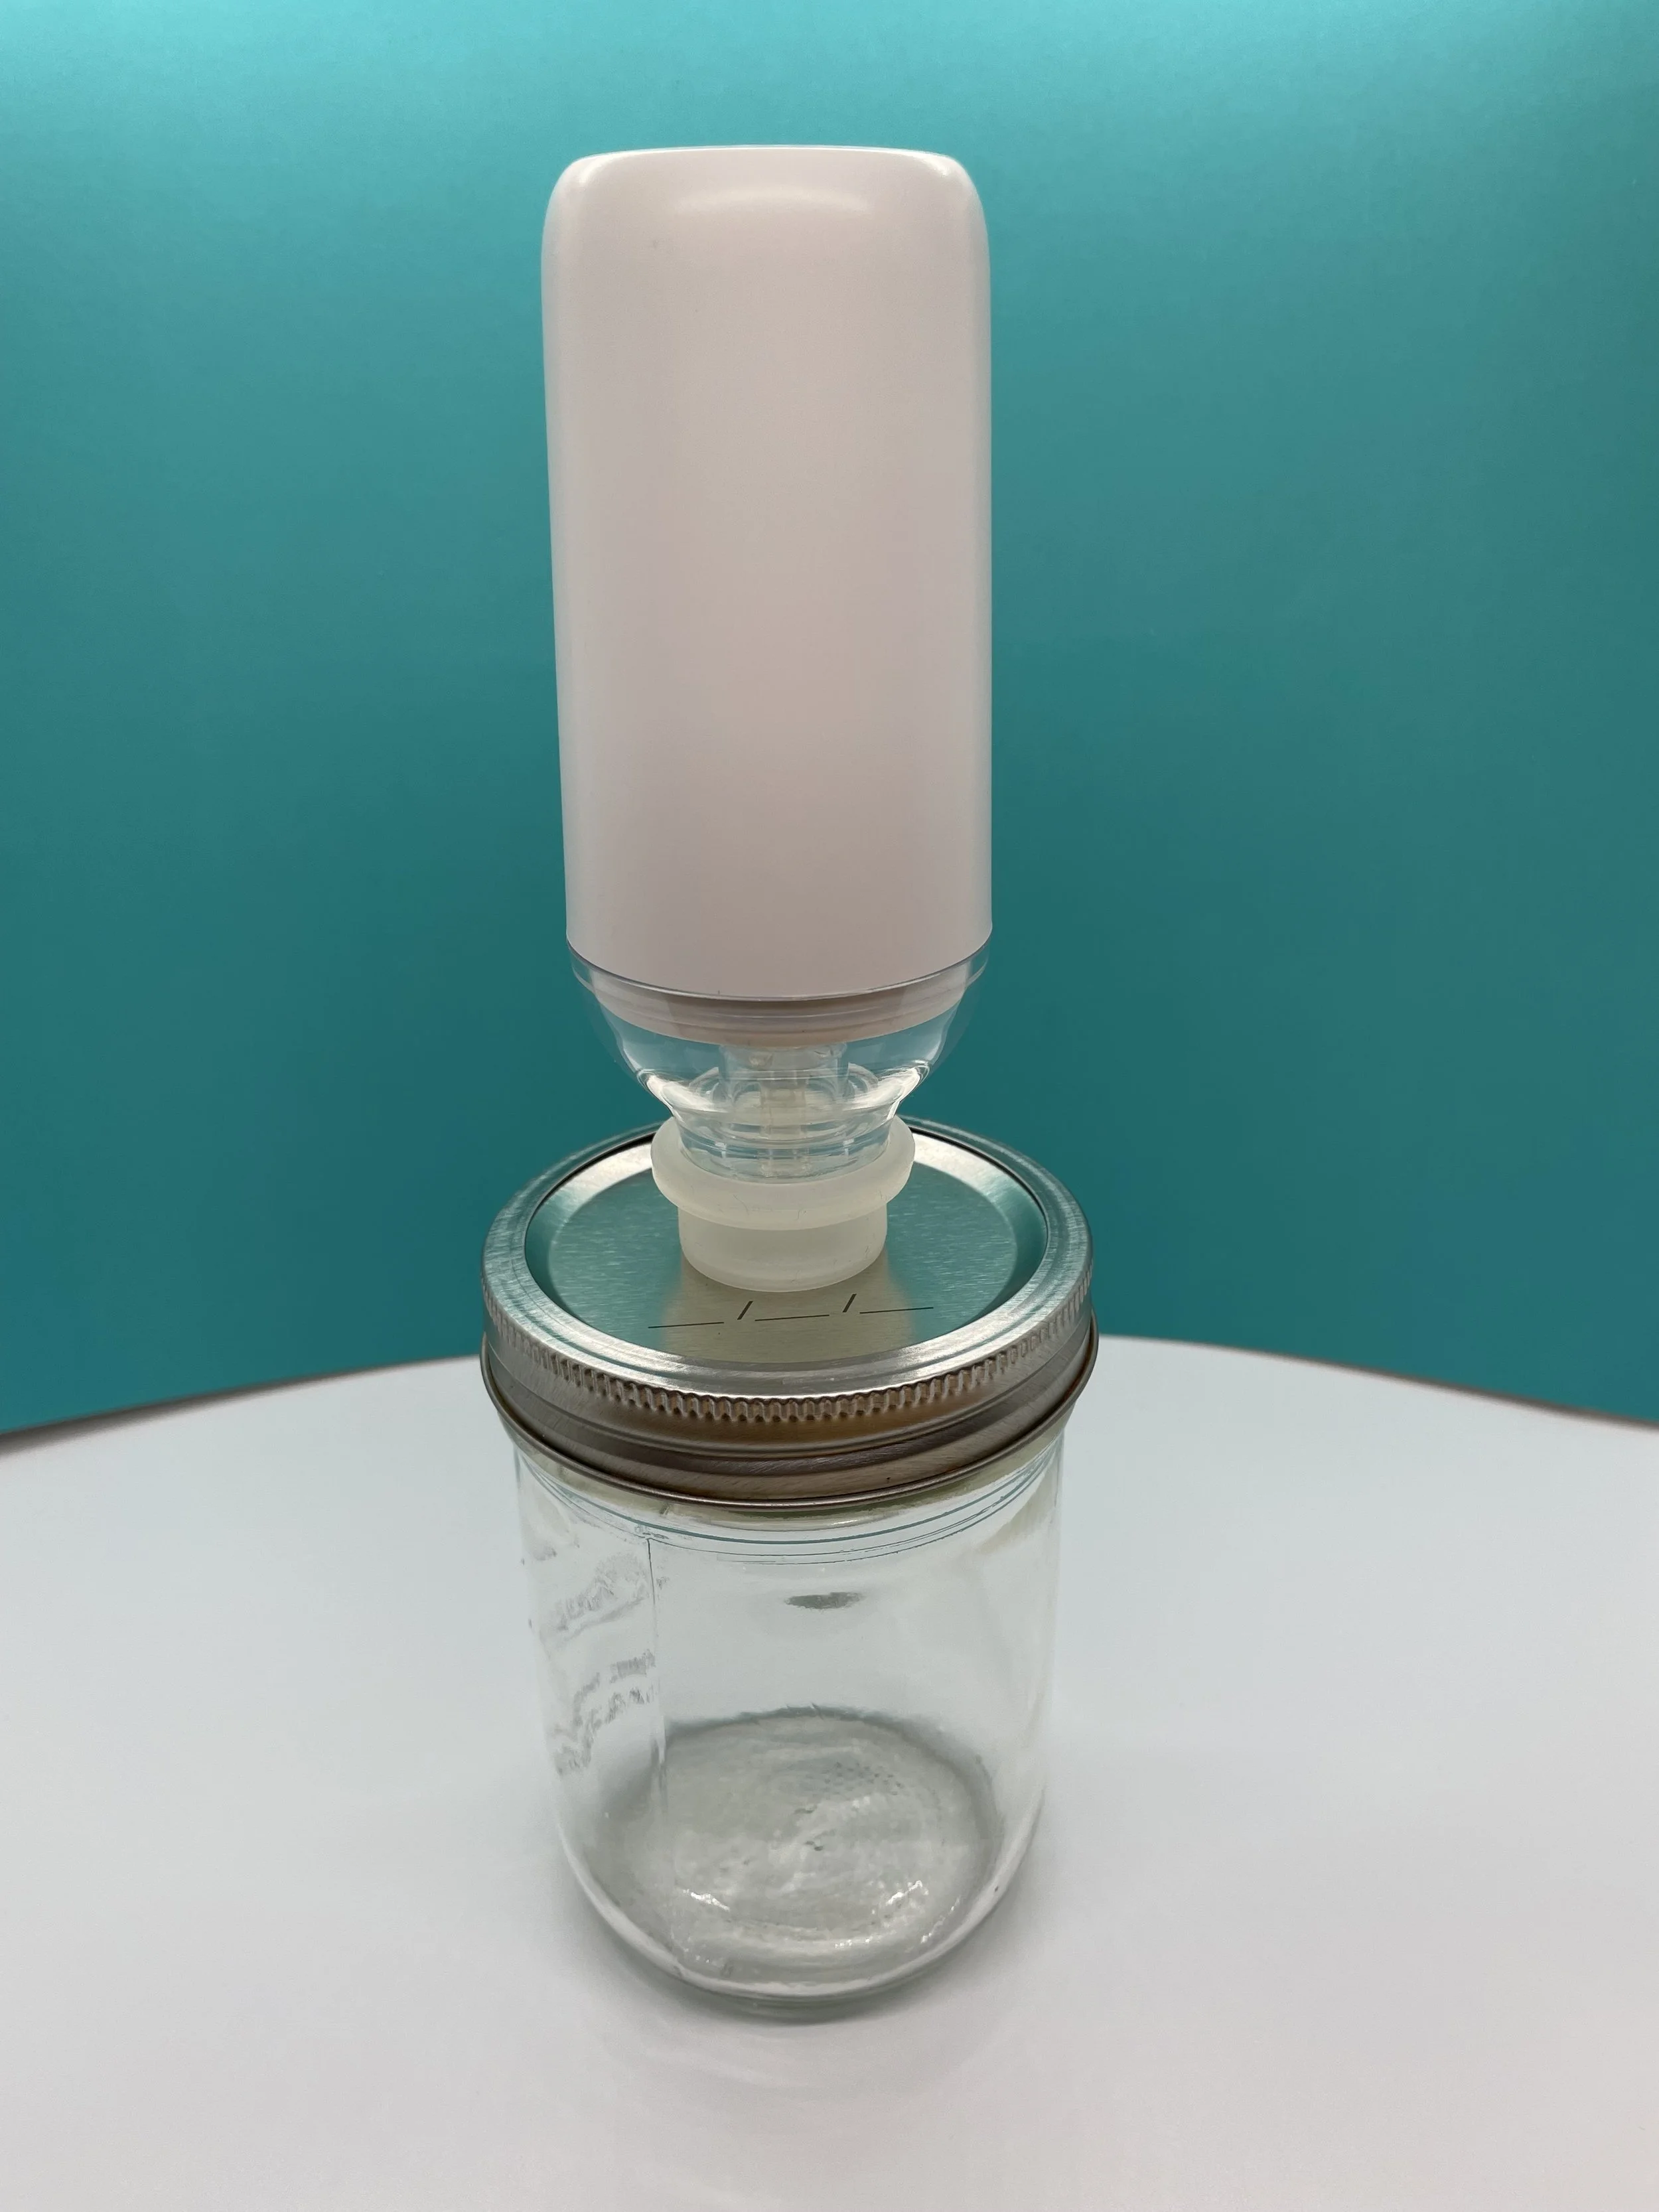
To seal a jar, ensure that the mating surfaces of the jar edge and lid are clean. Then place the lid on the jar, screw on the ring, place the vacuum source (using the TSI coupler) over the ball seal and start the pump. With the exception of a manual pump, most modern bag sealers will shut off automatically.
In our opinion, the This Sucks Big Time! vacuum pump is a great choice. It’s super quiet, a handy size, rechargeable, and has an auto-stop feature which shuts off the pump when the maximum vacuum level is reached. The TSI coupler is built on to the e-pump, so it is compatible will all TSI vacuum lid products. The This Sucks Big Time! vacuum pump works great with zippered food storage vacuum bags too.
TSI electric vacuum pump sealing a canning lid on a mason jar
That Seals It! vacuum coupler on vacuum hose assembly
Vacuum sealed mason jar with a That Seals It! ball seal installed in the lid
With the tradition method, to get into the jar you first have to pry the lid off, which often damages the lid. Conversely, with the ball seal method, you simply push the ball to one side to release the vacuum. After removing the ring, the lid will pop right off!
how do i get started?
TSI can provide all the items needed at a very affordable price. Learn more here.
For those who may already use TSI vacuum lids on their #10 cans and want to give this method a try on mason jars, you likely have everything you’ll need on hand. First, make an appropriately sized hole in the center of a canning lid. 7/32” is ideal. 1/4” may work but is a bit wide. Most folks will grab a drill and go at it, as this is the most common tool available to make a hole. The challenge is when drilling very thin material often the resulting hole is not very circular. Often it has ‘sides’, which can cause issues with creating a good seal. Take your time. We suggest starting small and gradually working up in bit size until you get to the desired hole size. It helps a lot to keep the lid from moving during the drilling.
At TSI we form the hole in the canning lids with a punch and die tool, which provides a very precise and symmetrical hole. We are working on making an inexpensive hole punch available so consumers will be able to modify lids they already have.
We hope everyone will try the That Seals It! improvement for vacuum sealing food in mason jars. It’s surely to become the new status quo!


