Adding a That Seals It ball seal to a canning jar lid makes it super easy to vacuum seal the jar and even easier to remove the lid.
Vacuum Seal Fresh Fruit
Use That Seals It! to extend the life of fresh fruits
The seasonal progression from Winter to Spring to Summer brings with it longer, warmer days and welcomed dietary options, like fresh fruits! Two of my favorites are strawberries and grapes, which I buy in abundance, along with apples, pineapples and bananas. I make an easy-to-prep fruit salad that has become a mainstay. Simply mix cut fruit (enough for a bowl full) with 6-8 heeeeaping tablespoons of Greek vanilla yogurt (SAM’s Club)!
As may be the case with you, I’ve found that, even keeping the fruit in the fruit drawer of the fridge, most fruits start showing signs of decay after just a week. Refrigeration tends to dry out produce. Awhile back I started vacuum sealing my strawberries in a #10 sized can and storing it in the ice box. Prior to then it was always the case that the last strawberries were pretty leathery, the leaves browned and dried out, often with some mold growing. Since I started vacuum sealing, the berries can easily go 2+ weeks with very minimal signs of aging!
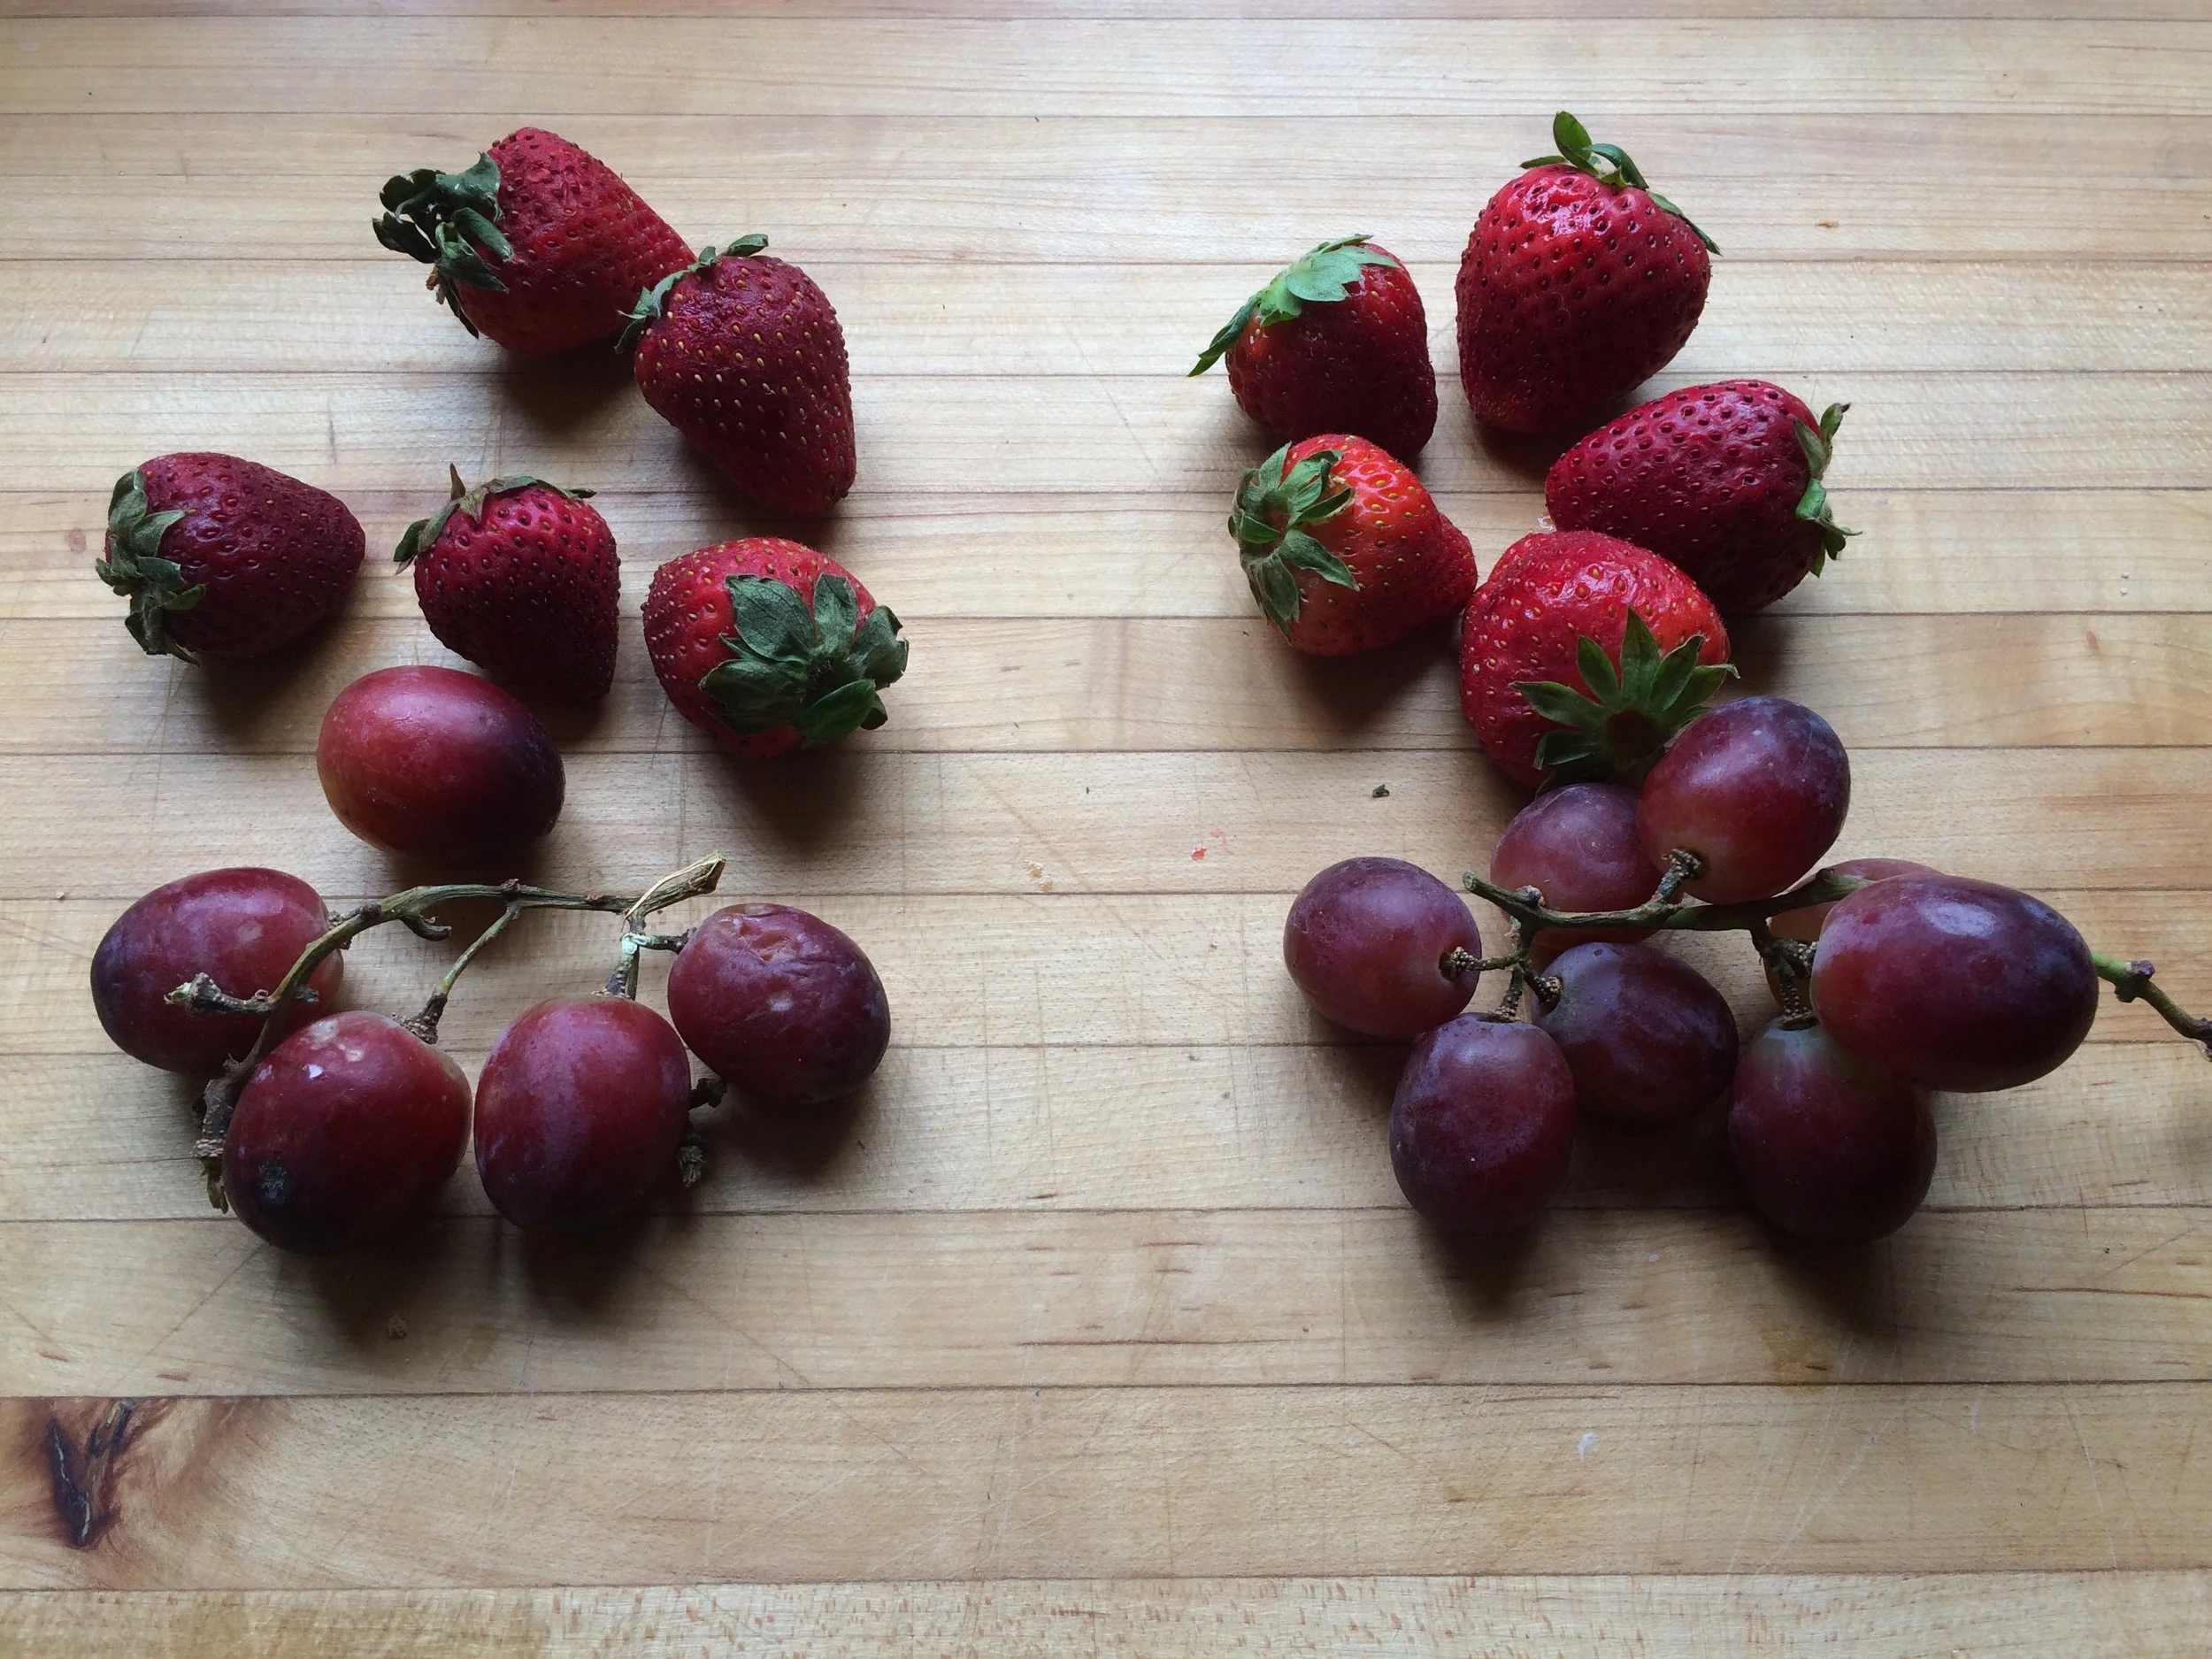
I decided to document the experience. On April 21st I created two test samples using strawberries and grapes. For the first sample I put a bunch of grapes and a few strawberries in the fruit drawer in the fridge. The second sample went into a #10 can, vacuum sealed with my THAT SEALS IT! vacuum lid. Then I waited. Here’s what I found on May 2nd (11 days later):
Vacuum sealed fruit vs stored open in the fridge
Left = fruit drawer in refrigerator Right = vacuum sealed & refrigerated.
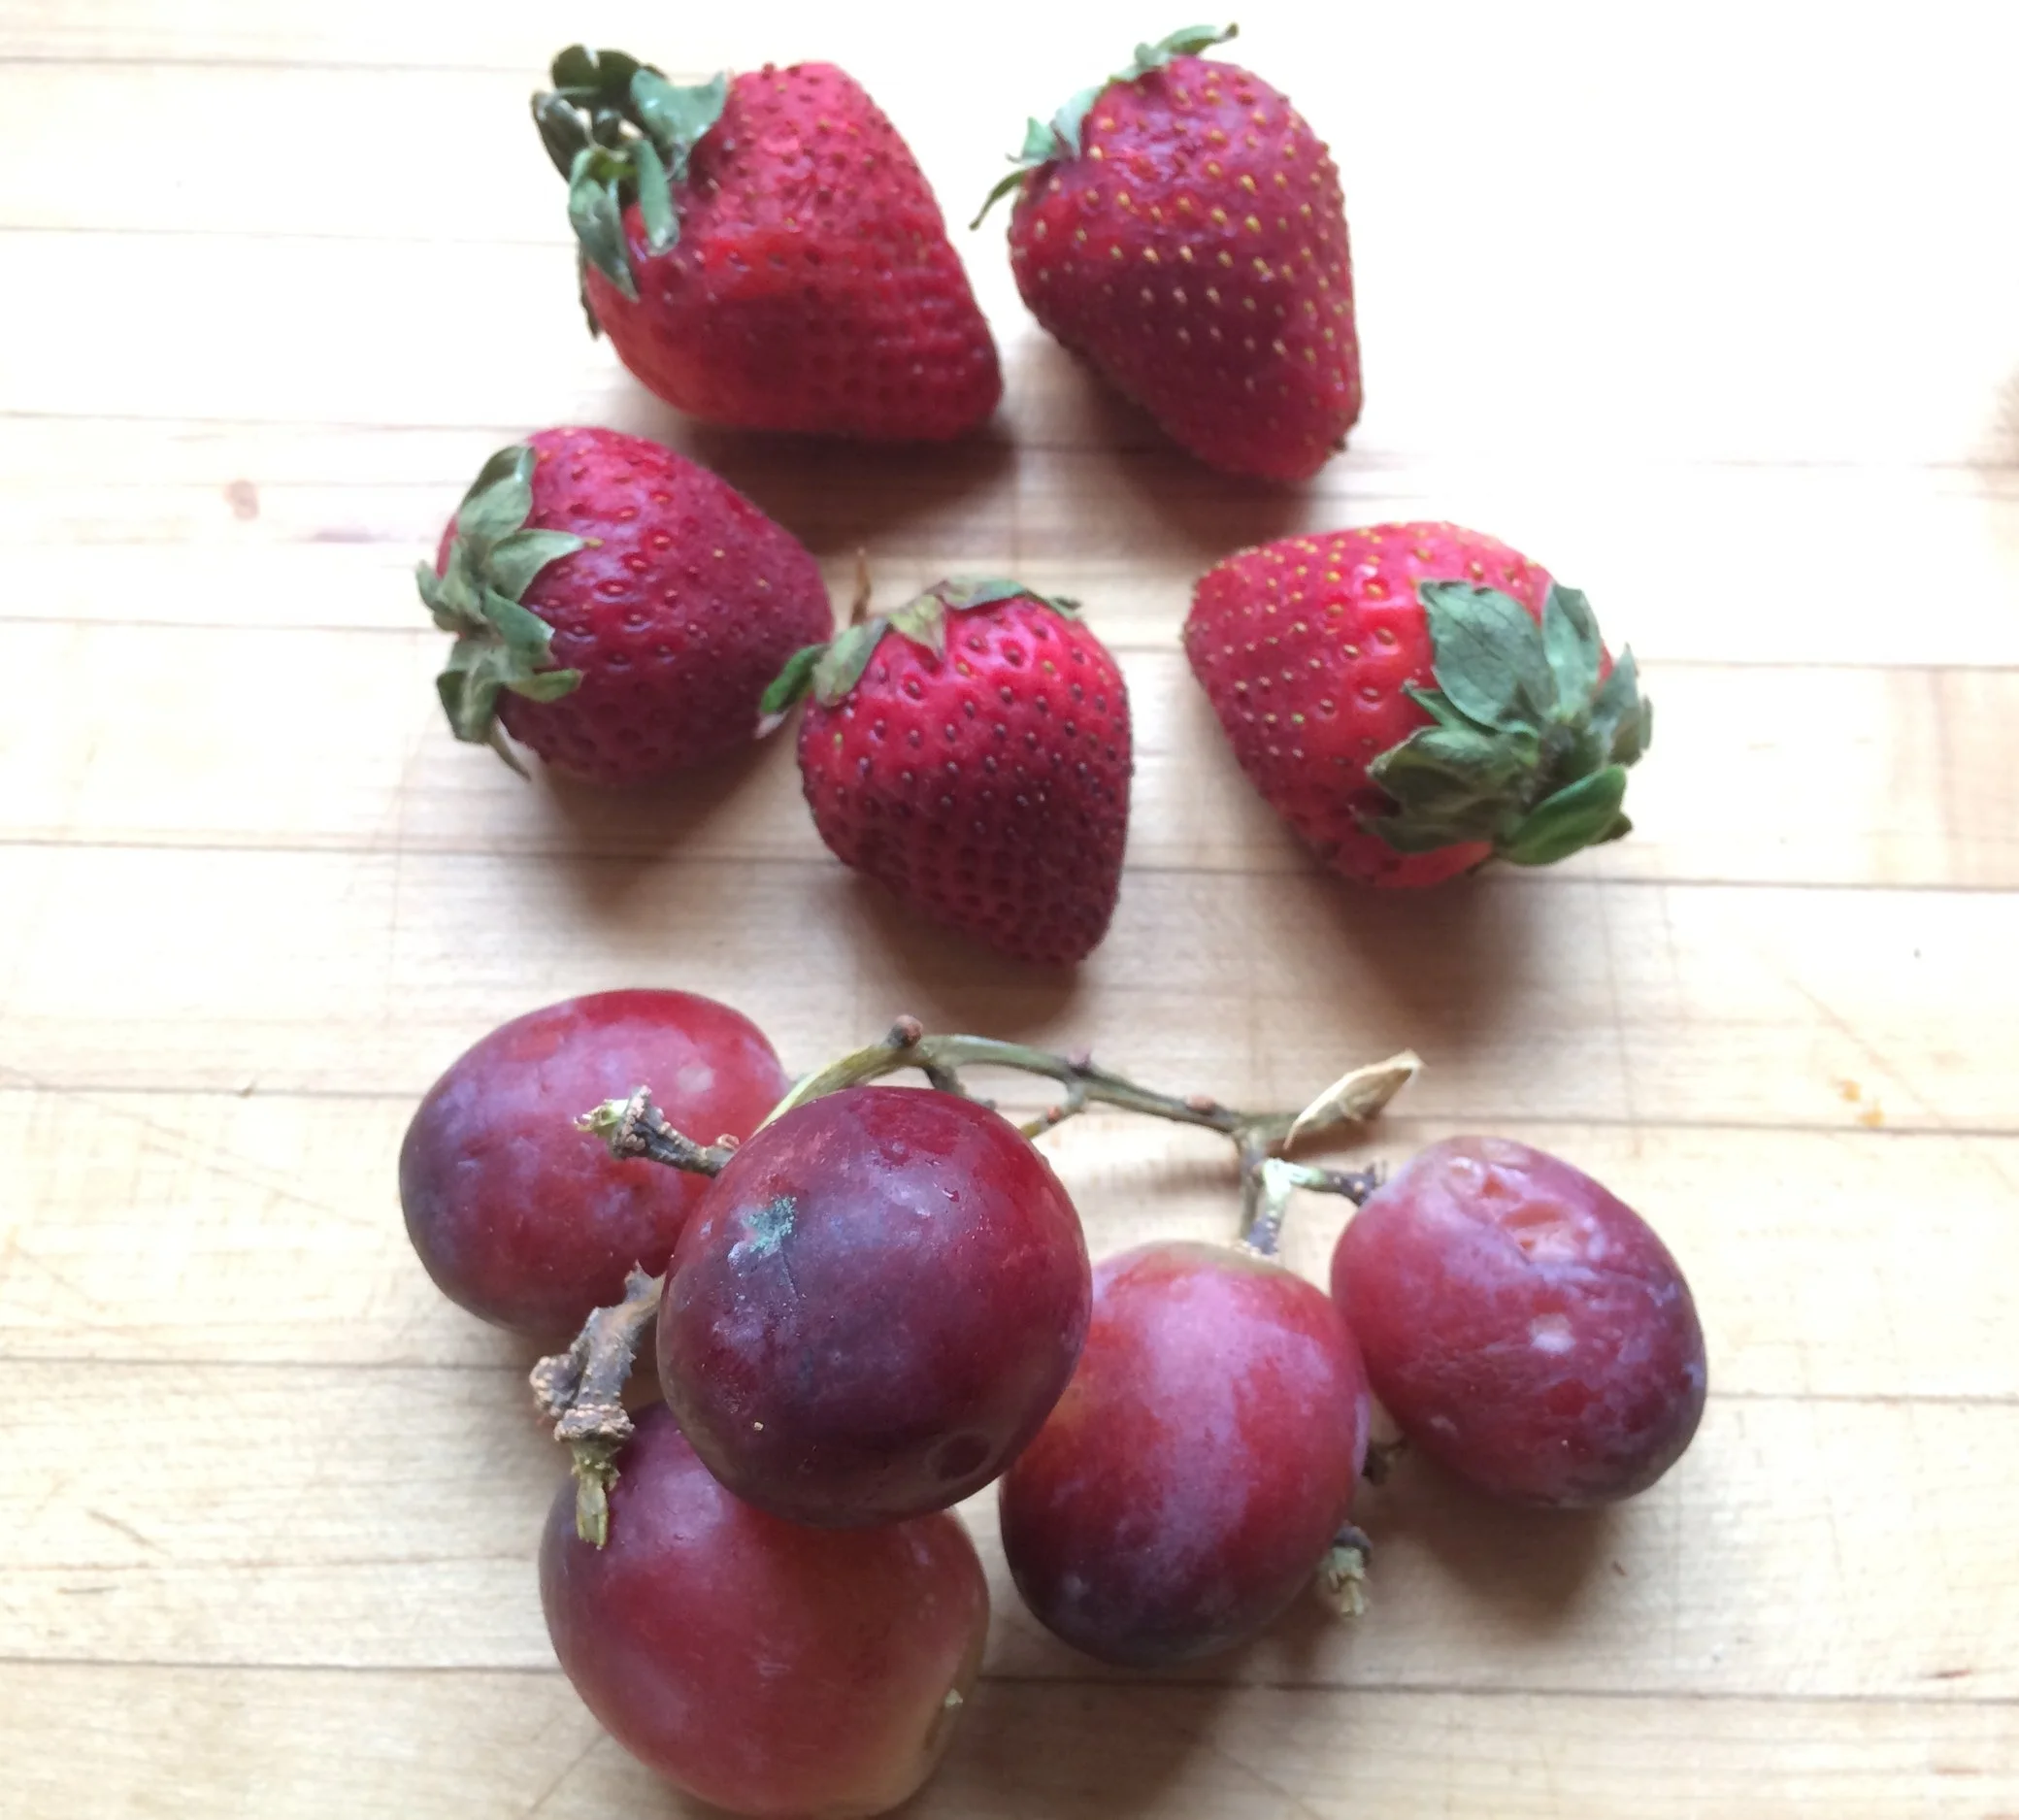
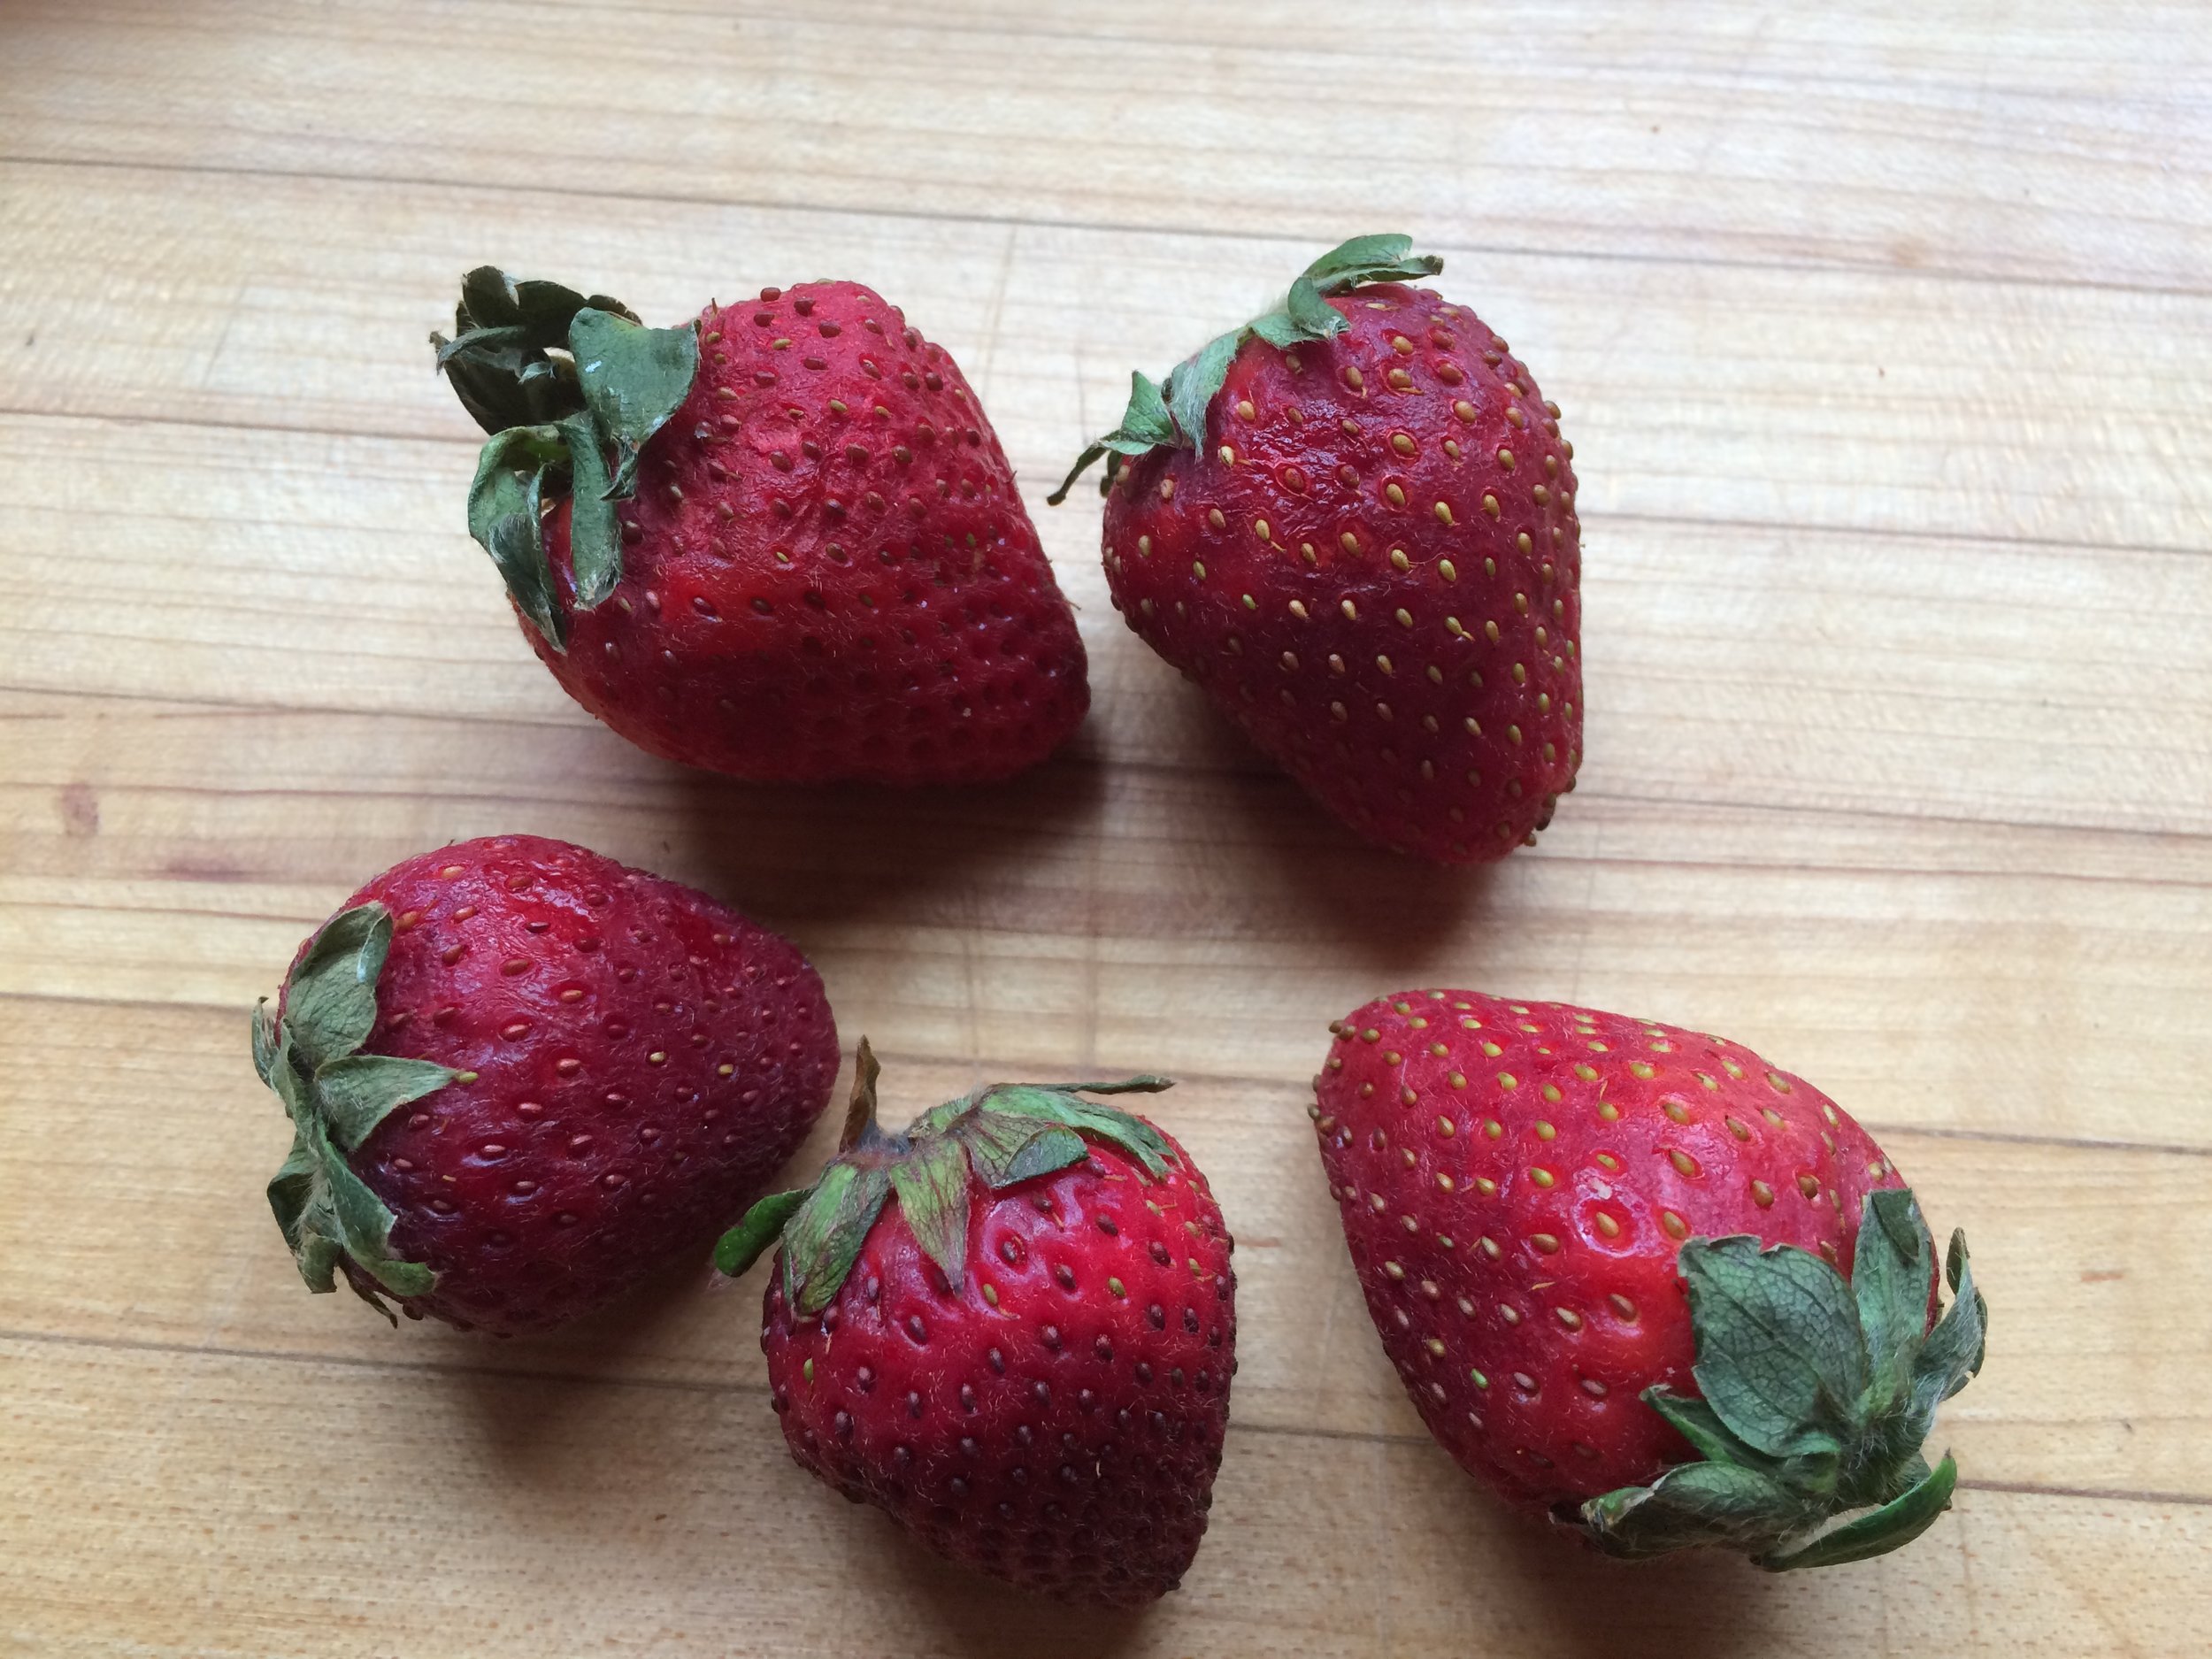
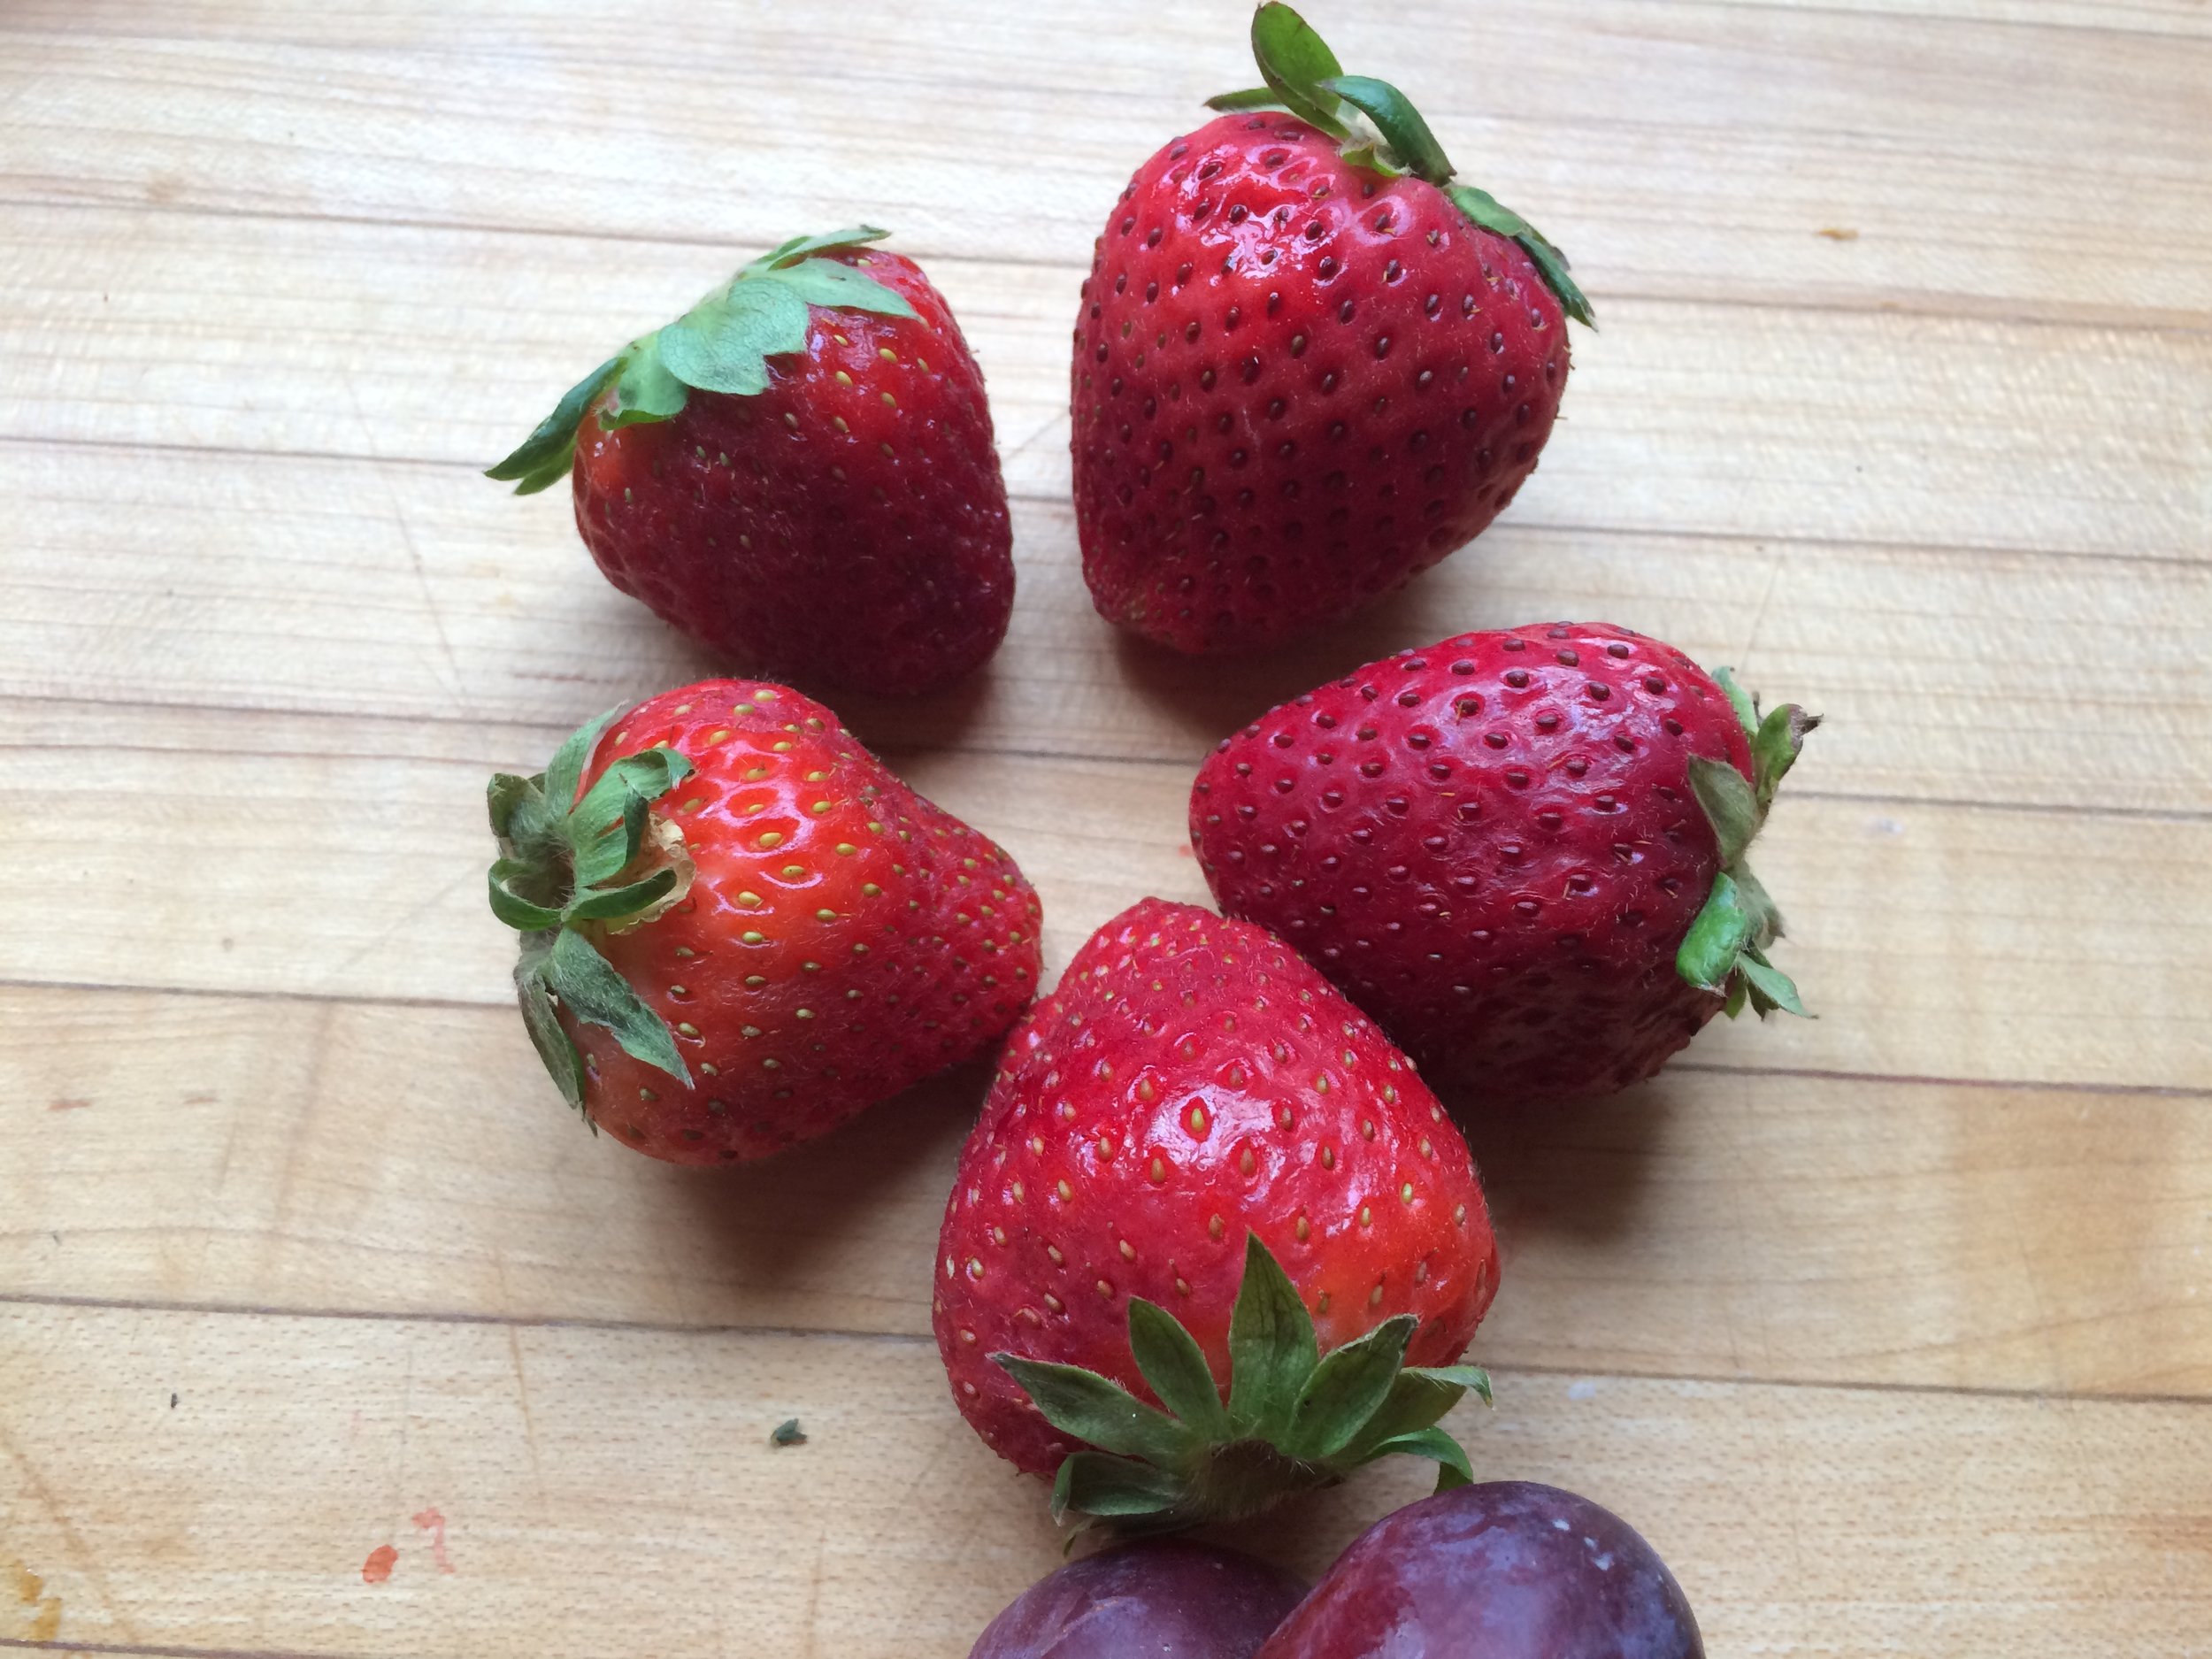
You can see the berries on the left are showing signs of age, while the fruit on the right looks great. Check out the condition of the green leaves. Note the blueish mold on one of the grapes on the left and the grape that is obviously shriveled.
Grapes kept in a refrigerator produce drawer
Grapes vacuum sealed with That Seals It!
Strawberries kept in a refrigerator produce drawer
Strawberries vacuum sealed with That Seals It!
Ok, I’ve saved the best for last!
While working on this blog I realized that I had unintentionally omitted what is probably the most commonly consumed fruit - the cherished banana! In fact my daughter told me she recently read an articles that claims that Walmart reports that bananas are it's #1 item sold!
Nanas have so much going for them: They don’t seem to have an off season, as they are available year round at the grocery store; they are the ultimate grab-n-go snack; everyone loves them (well, I can name one person who doesn’t); nanas don’t have an over-powering attitude and get along well with most all other fruits.
However, we all are painfully aware of our little yellow friend’s downside...he tends to brown up and gets mushy quite quickly. Good thing someone invented banana bread and smoothies!
I decided to take a bit more time and test the vacuum process with these guys as well. On May 3rd I quarantined one in an empty plastic grape container with a note saying “Test banana! Please don’t eat !” The other went into a #10 can, under vacuum. Both were left on the counter until today, May 10th.
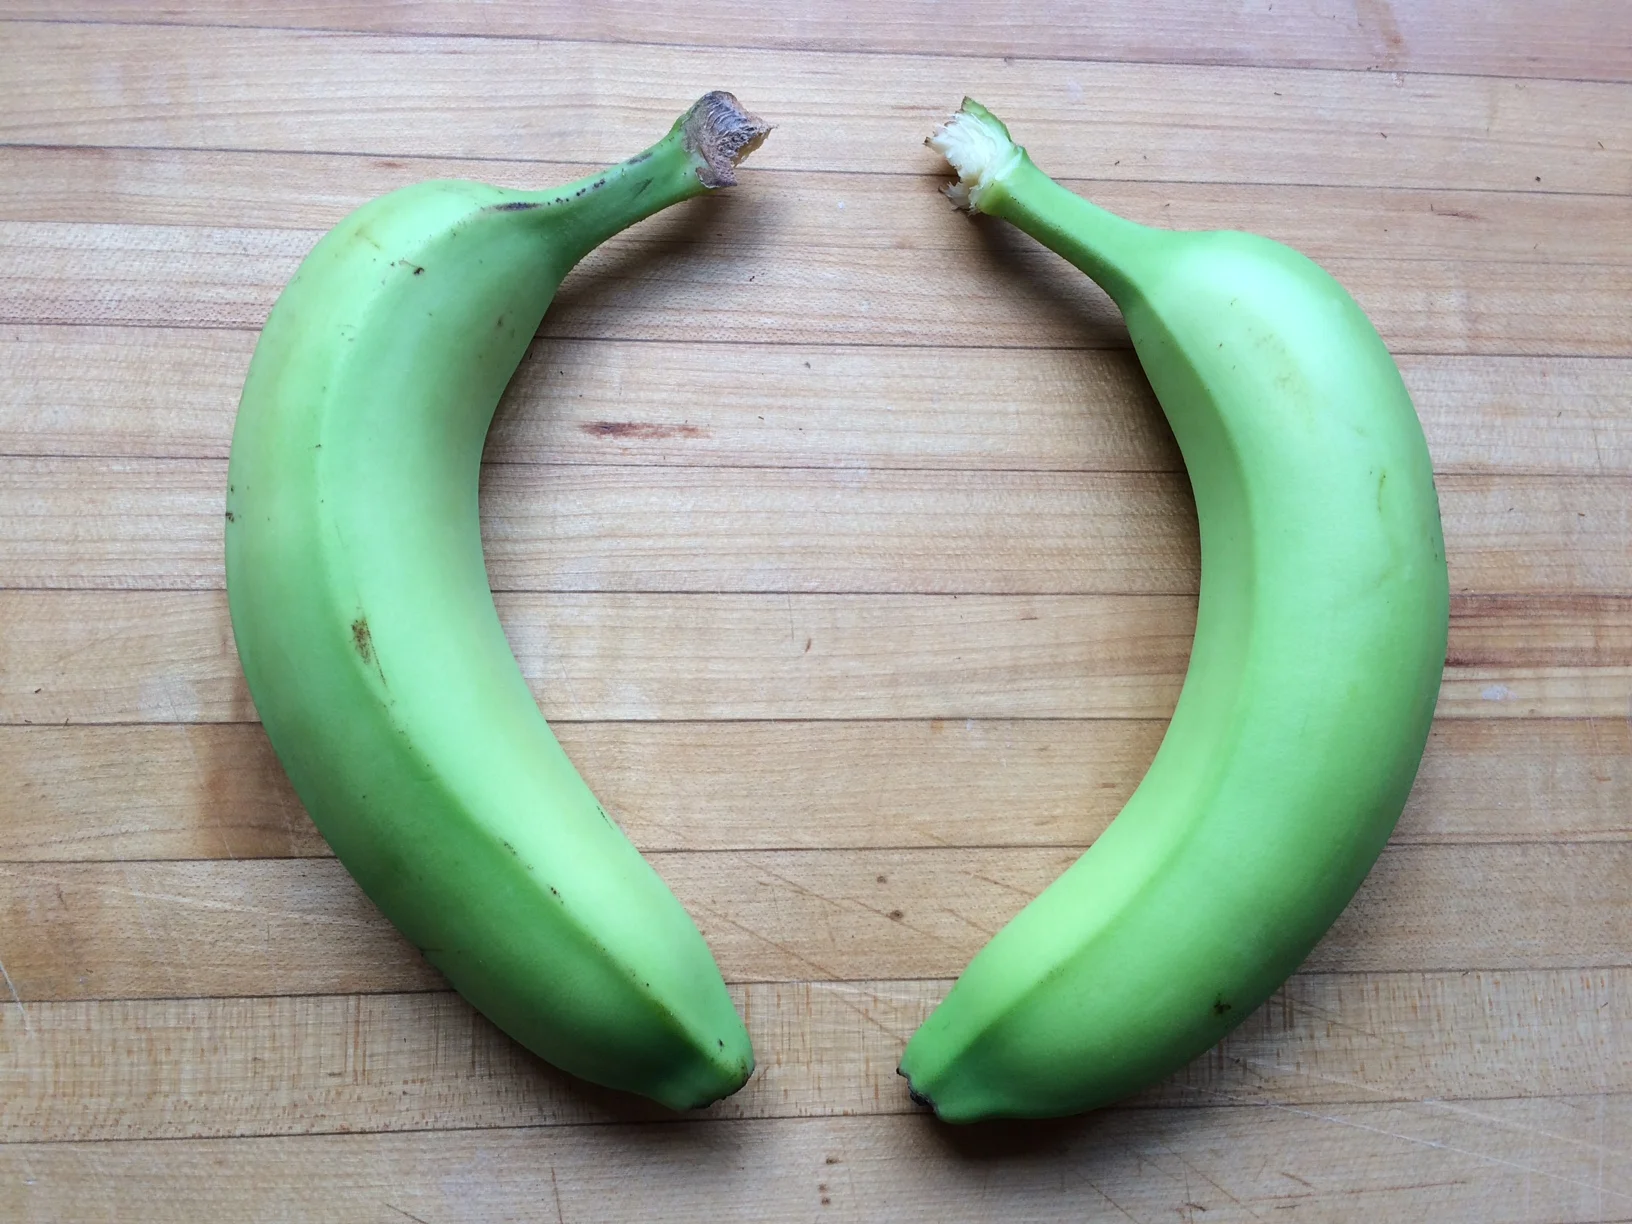
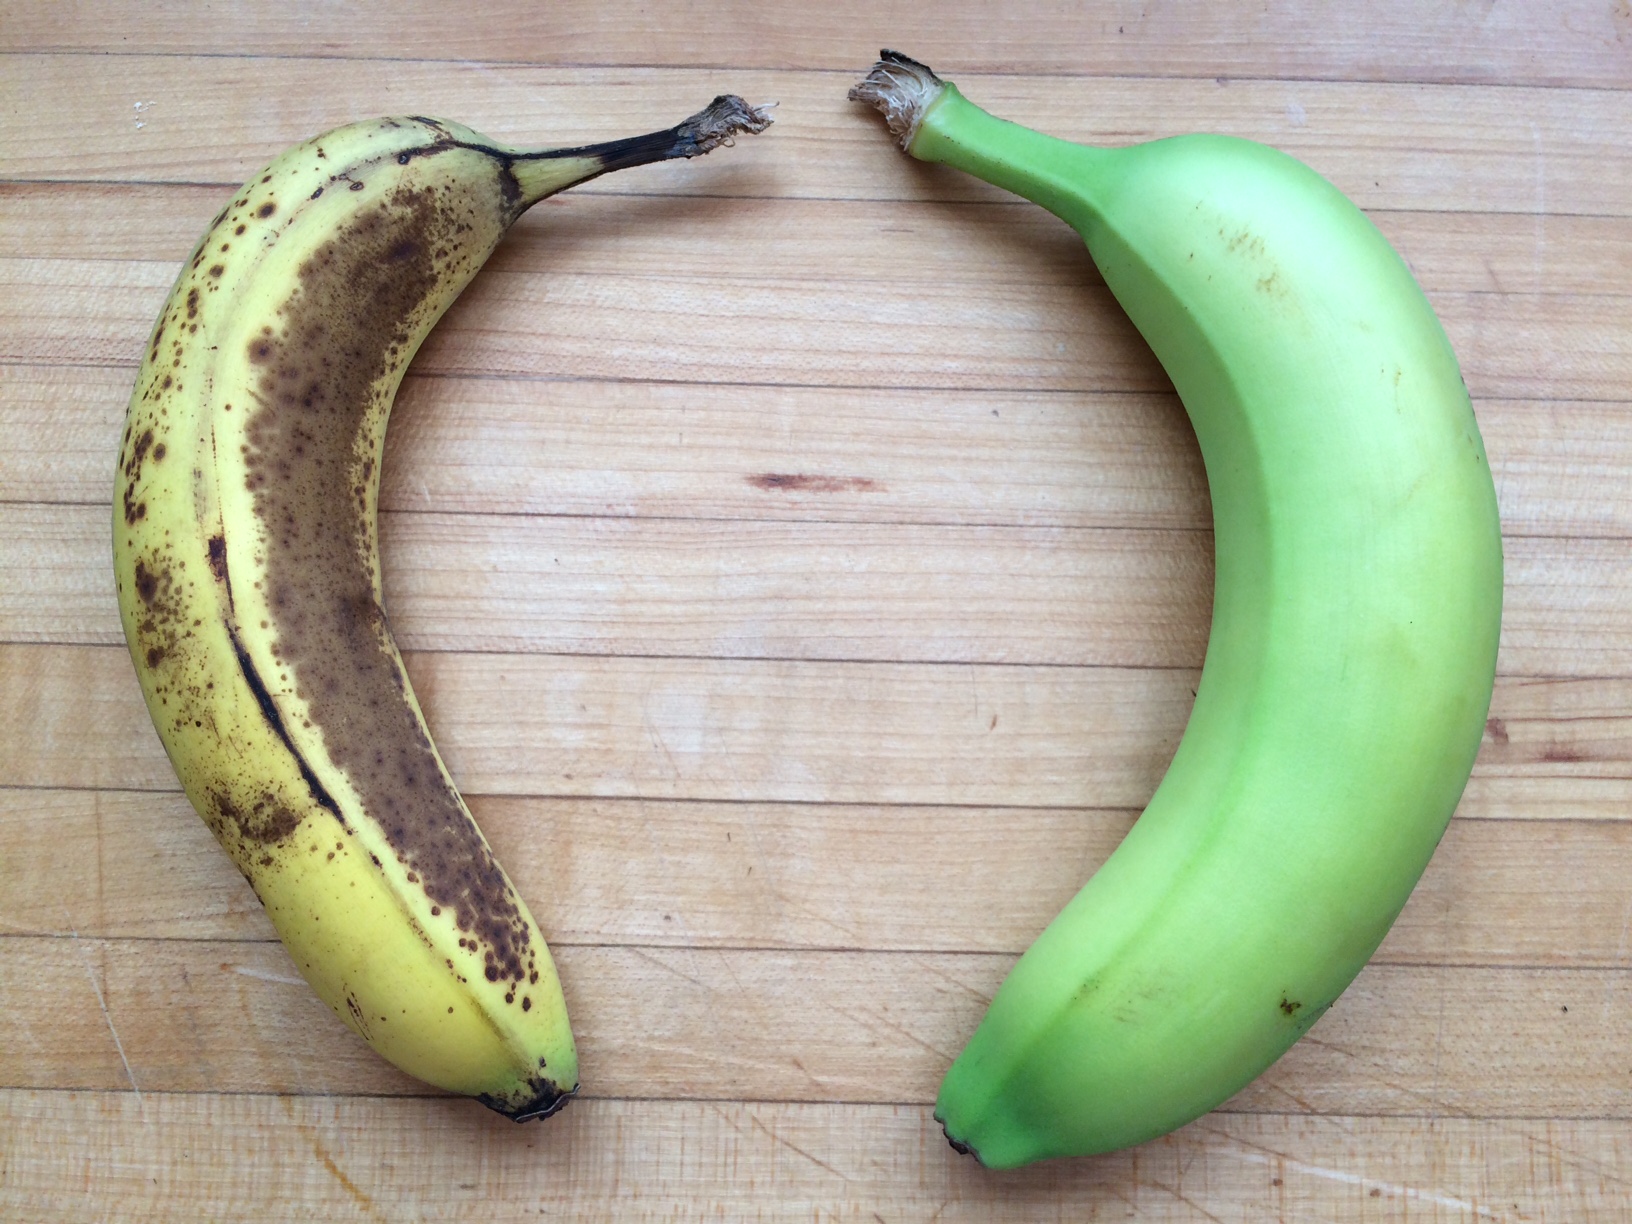
I gotta say, the results of this experiment were the most striking of all! Here are the before & after beauty shots:
Bananas before aging
Bananas after aging (one was vacuum sealed)
Pretty dramatic results! Right?! Evidence of ripening can be seen with the banana on the right; a bit of a yellow hue starting to develop. The meat is still quite firm, unlike that of the well-ripened fruit on the left.
Guess which one I ate with my Cheerios for breakfast? Nope, the one on the left. I’d be lying if I said I wasn’t tempted to slice up the good looking one. Though the peel was uninviting and the meat was kinda soft, the visibly aged banana was by no means a total loss. Plus I can’t stand to see food go to waste.
His fresher friend I put back under vacuum. I’m curious to see how long this one will go.
Here's how I went about using the THAT SEALS IT! system to preserve fresh fruit:
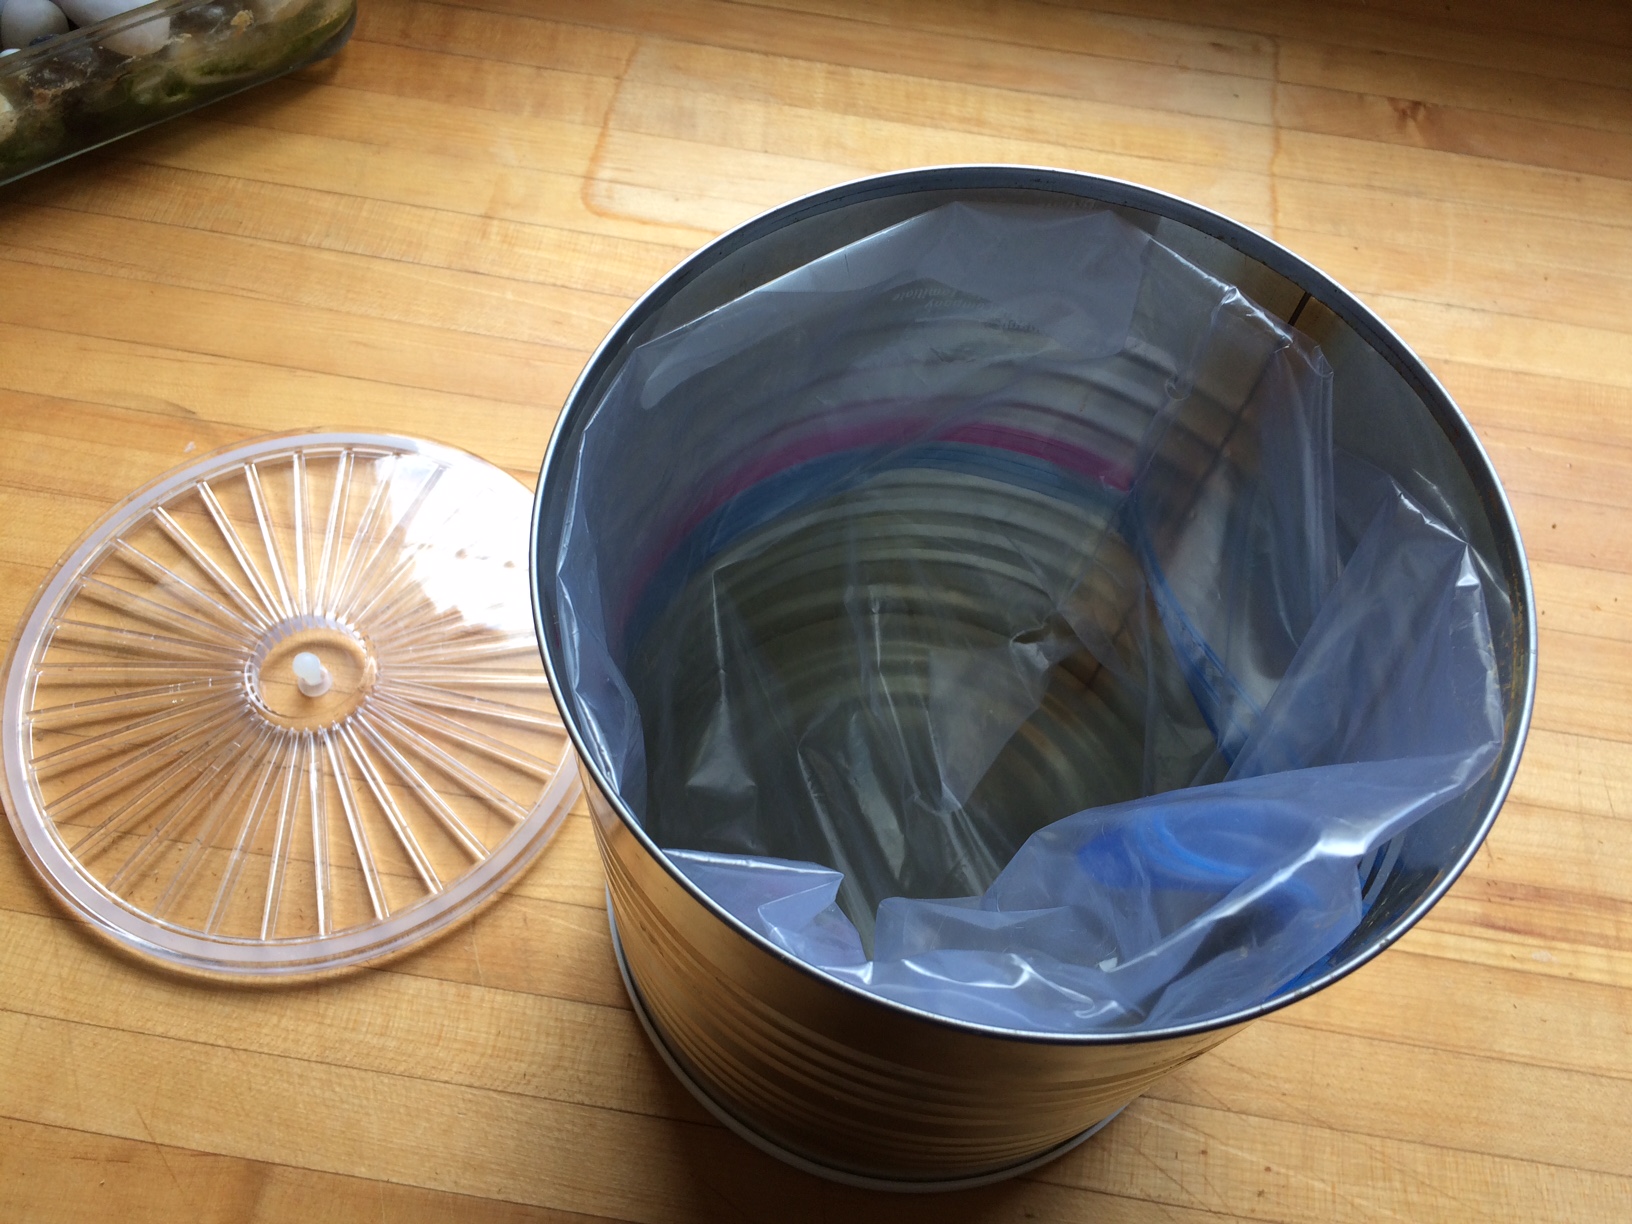
#10 can with gallon size baggie as a liner
First, I used a gallon-sized bag as a liner. Most cans are already coated from the factory with a treatment that is used for containers destined for contact with food. I simply wanted to A)- make it easy to get the fruit in/out and B)- I wanted to avoid having to clean up any accidental fruit mess inside the can. As it turned out there wasn't any mess, thanks in large measure to the vacuum preservation.
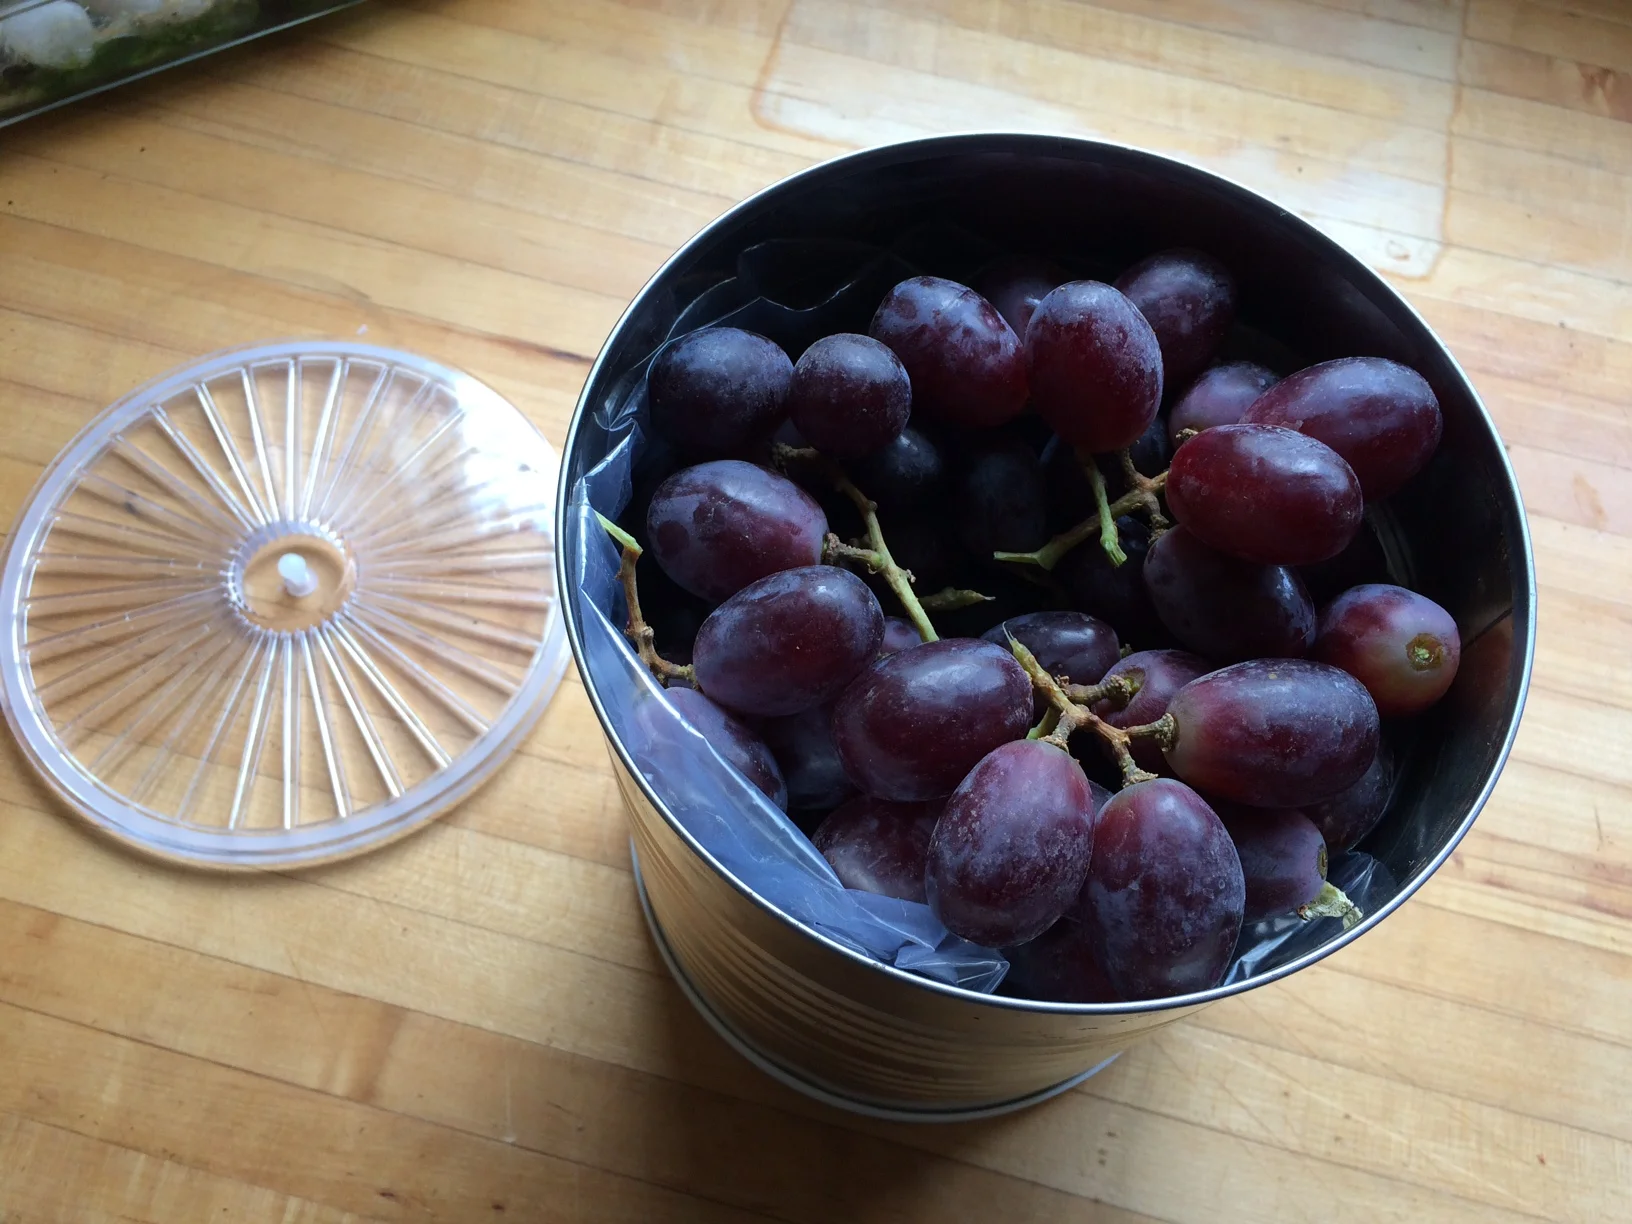
#10 can filled with grapes
#10 can filled with strawberries
Then I loaded the can with fruit and vacuum sealed it.
The THAT SEALS IT! vacuum system has proven to be an invaluable kitchen tool. I store my brown sugar under vacuum and it never gets hard (I don't even use one of those moisture stones or a piece of bread!).
I have a FoodSaver® bag sealer, so I leverage the auxiliary vacuum port to provide the vacuum pressure. This makes it more convenient and saves time. Connect the vacuum lid to the Foodsaver®, push the button and move on to other things.
There is a manual pump product called THIS SUCKS! that works great and is a good option if you don’t have an electric sealer. 10-15 strokes of the pump produces good vacuum. THIS SUCKS! also works great with the Foodsaver® zippered vacuum bags.
THAT SEALS IT! lids and a THIS SUCKS! pump are no brainers for your semi-long term food storage and e-prep.
Unfortunately, Summer never lasts as long as we wish it would. Help your favorite fruits hang around longer so you can enjoy them more. Prolong their fresh appearance and tastiness by vacuum sealing them.


